My FAMLI+ User Guide: Filing A Claim

For video walkthroughs of these tasks, see our How-To Videos For Claimants page.
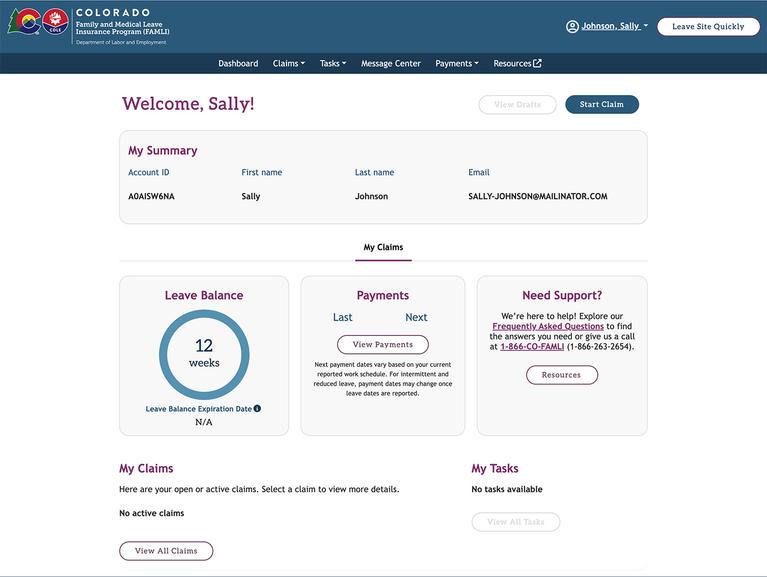
- Navigate to your dashboard and select the Start Claim button.
- This will take you to the Claim Filing Overview page, which will give you an overview of the entire claim-filing process at a glance.
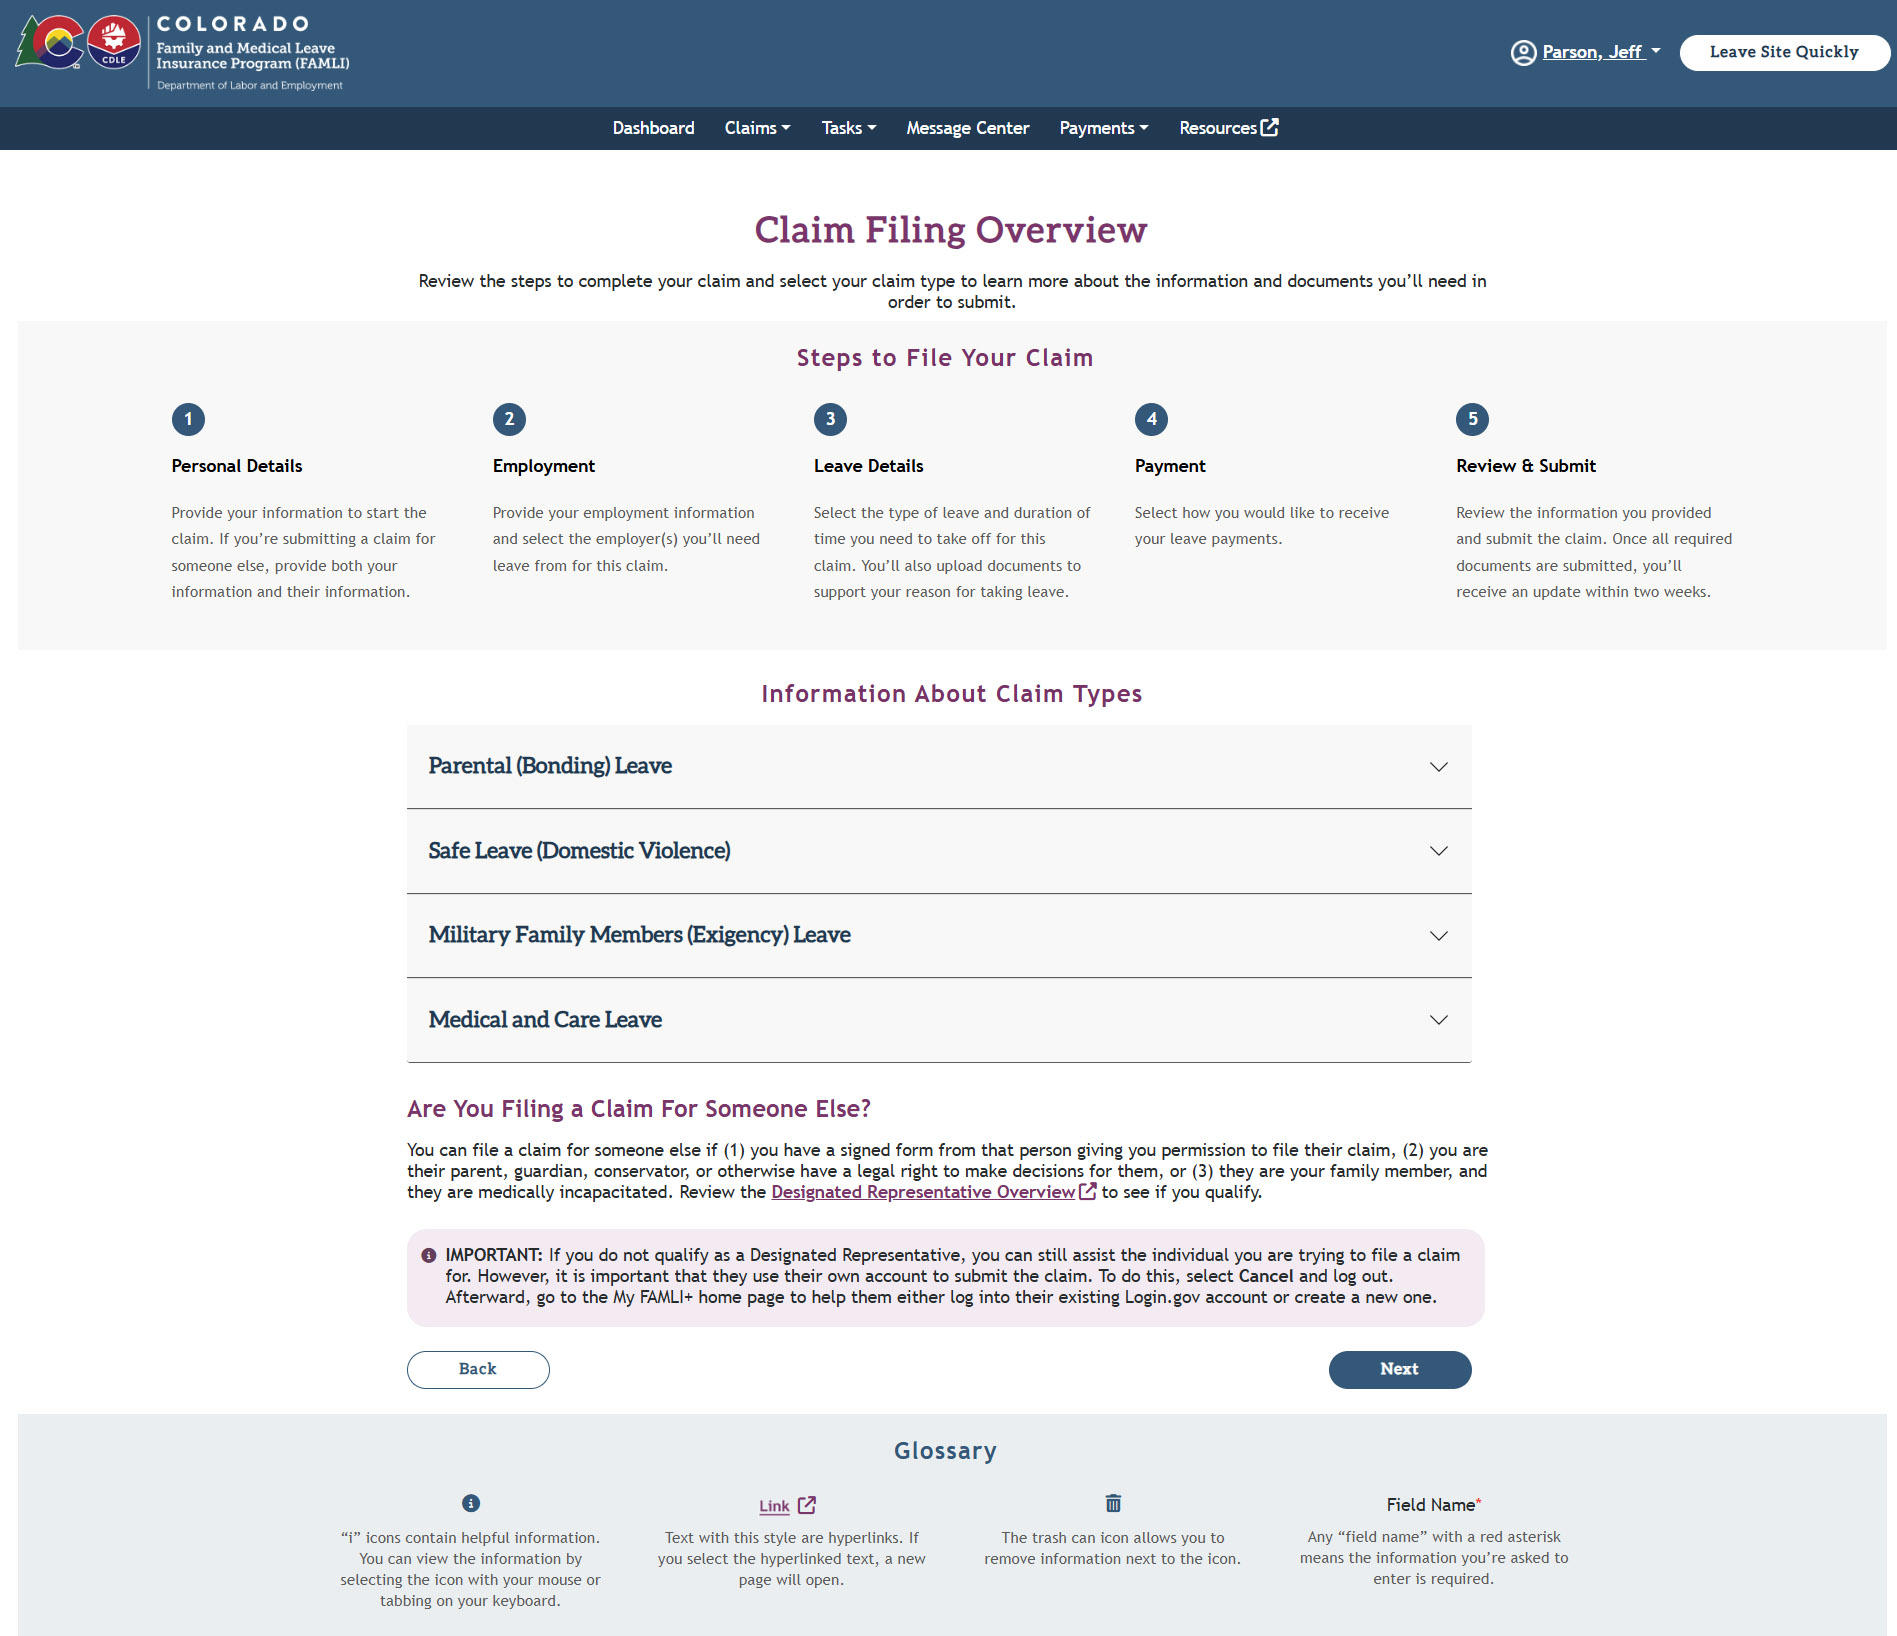
- There are five steps to the claim-filing process:
- Personal Details
- Employment
- Leave Details
- Payment
- Review & Submit
- Select Next to continue the application.
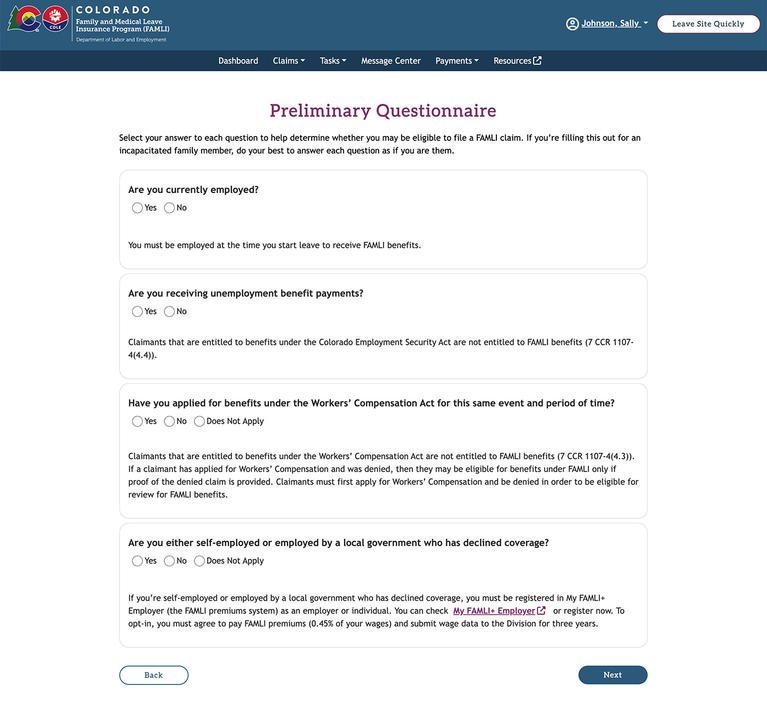
- Before going to the first step, you’ll be asked a few questions about your current employment, which will help determine your eligibility to file a FAMLI claim.
- After completing the questionnaire, you will be taken to the Review Terms & Conditions page. Read through the terms and conditions and select the checkbox to confirm you understand the information.
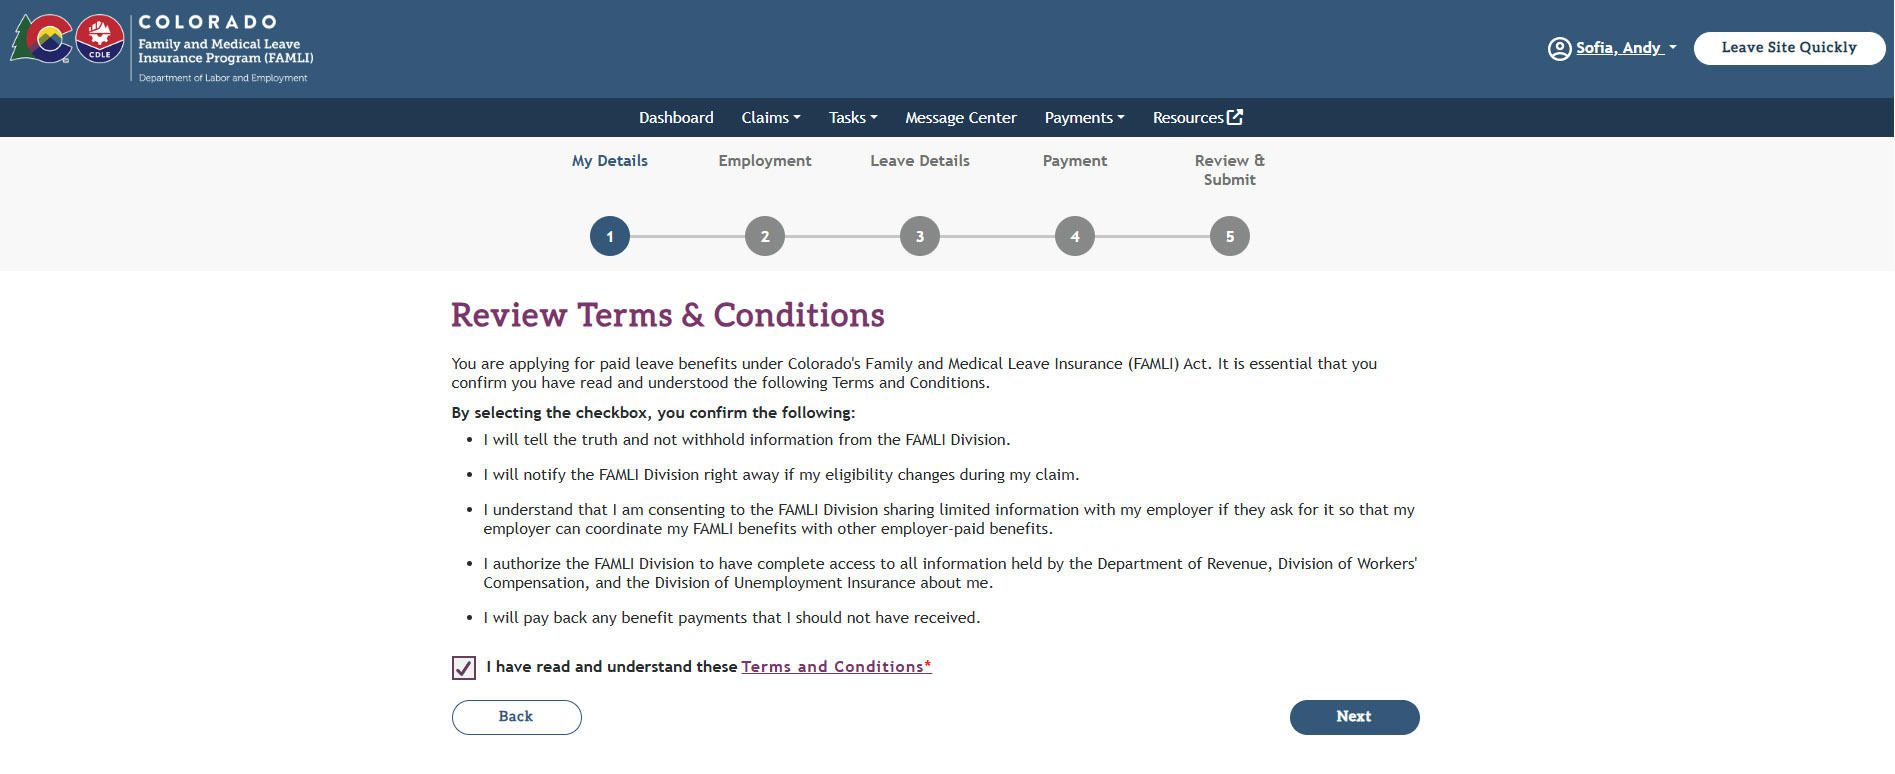
- Select the Next button.
- This is the first step of the process. You will be asked if you are filing a claim for someone else. Select No if you are applying for benefits for yourself.
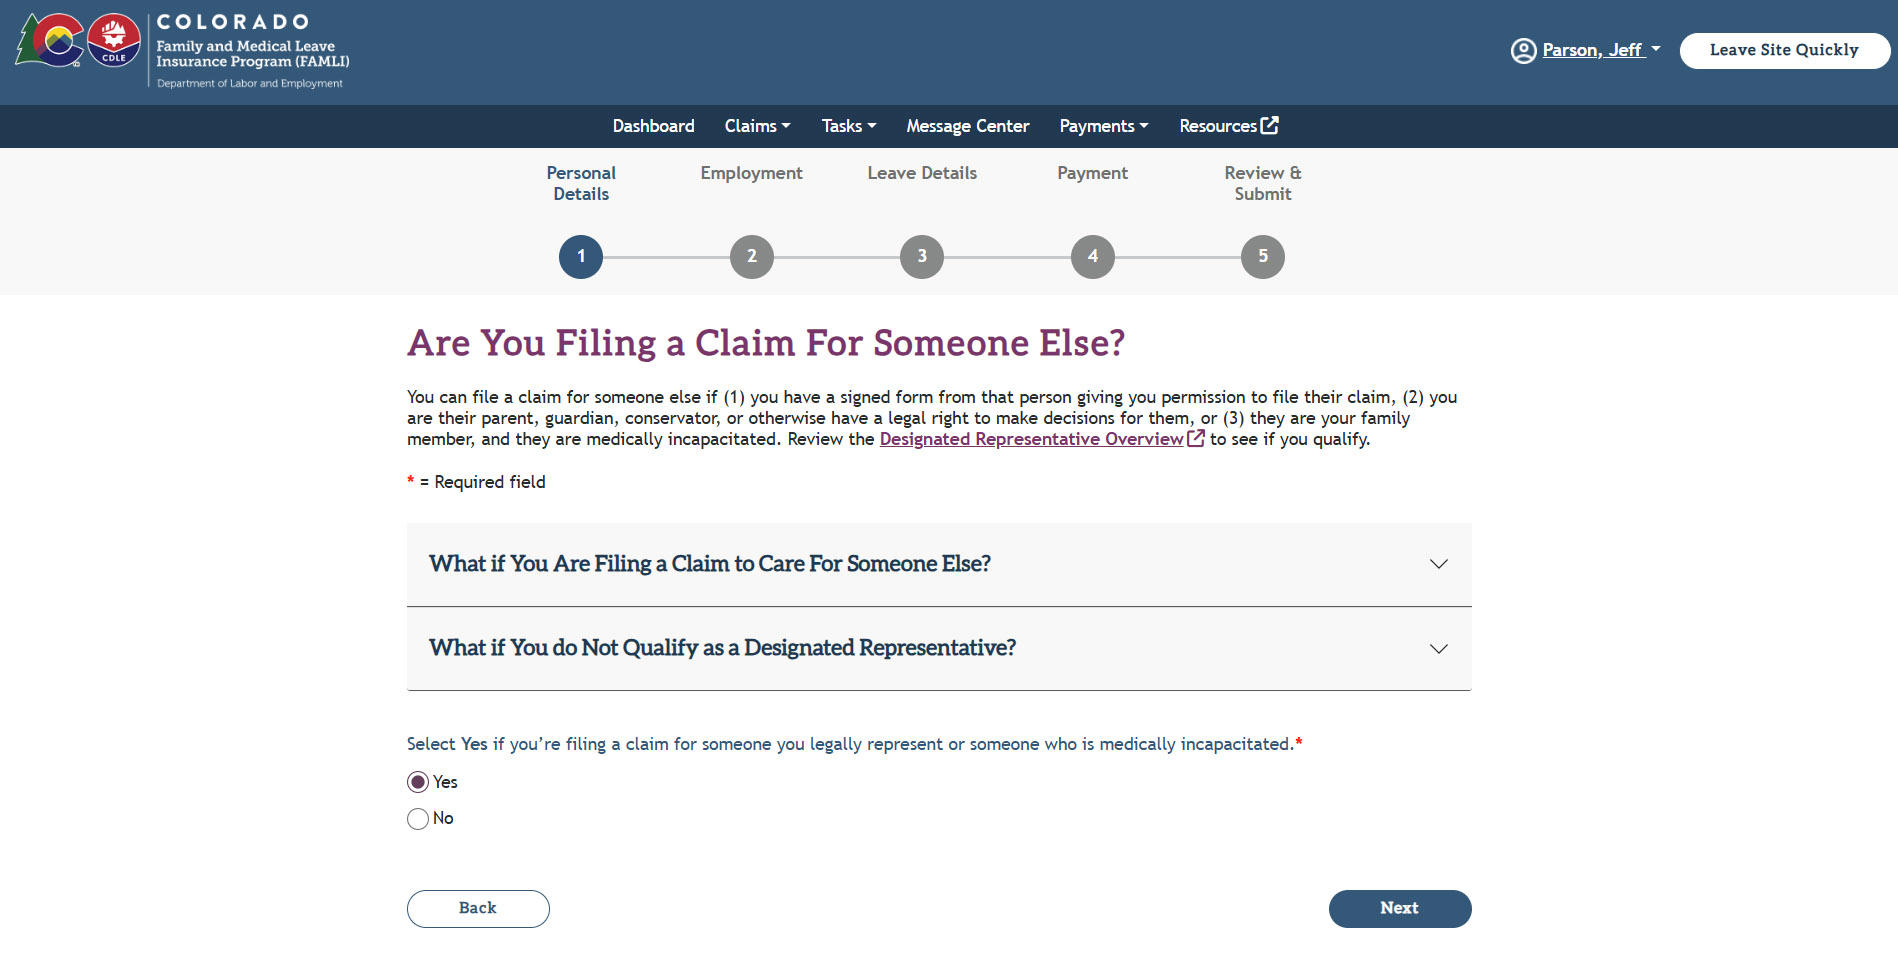
- Select the Next button.
- Enter your name, date of birth, SSN or ITIN number, and gender identity. (You can select “Prefer not to share” if you don’t want to identify your gender.)
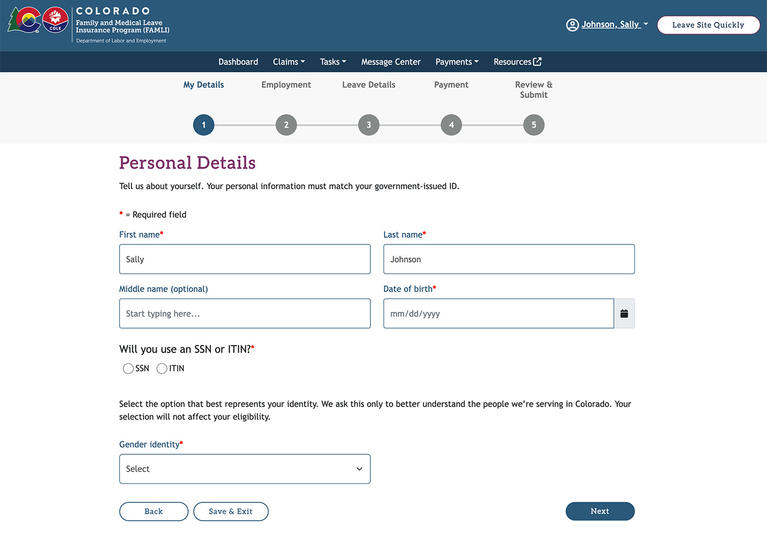
- Select the Next button.
- Next, enter your phone number and address. Your email address will automatically fill in.
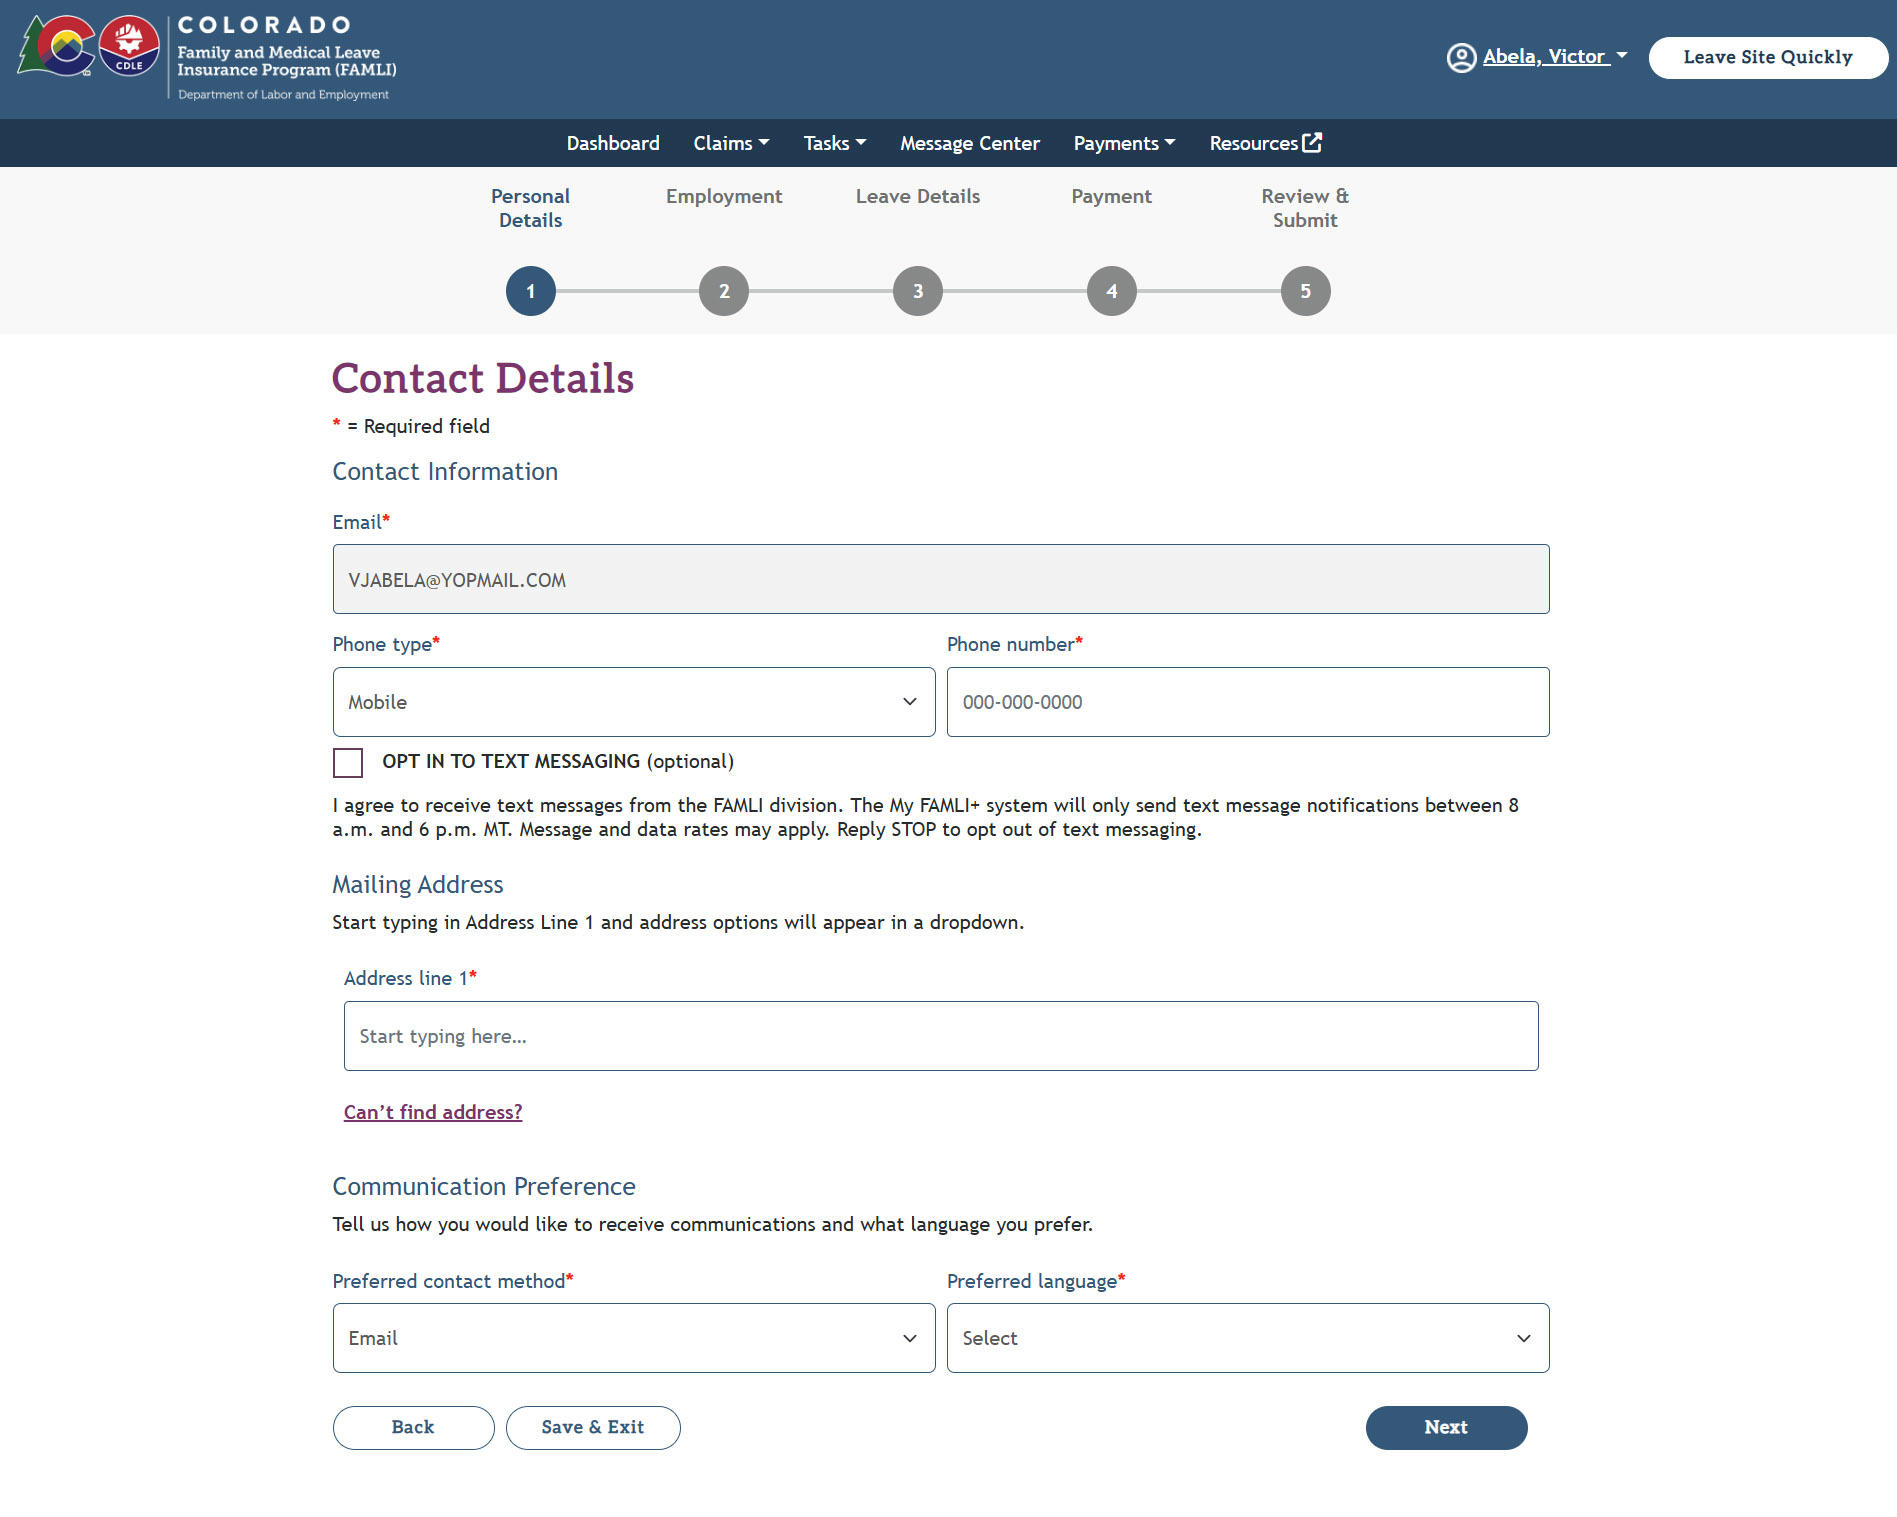
- Select the Next button. The Identity Verification section will appear.
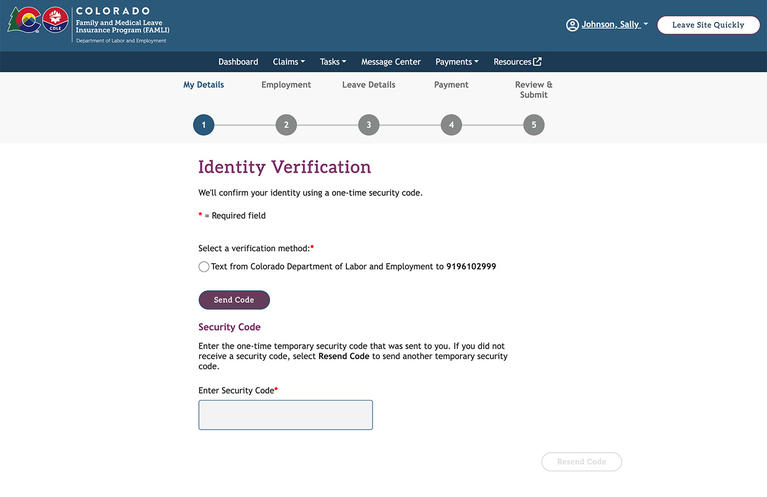
- Select your preferred verification method and then select Send Code.
- You will receive a one-time security code through email or a text message, based on your choice. You must enter the code in the Enter security code field.
- Now, select Submit.
- You may be asked additional questions to confirm your identity. In some cases, you may need to complete a process that will verify your identity by matching a selfie with your government-issued ID, or download the Identity Attestation Form and have it notarized by a Notary Public.
- Here are some tips for completing the selfie process:
- Make sure you can see all four corner brackets when taking pictures of your ID card. Your ID should be directly inside these brackets.
- Don't hold your ID when taking the picture; instead, place it on a dark-colored surface or background.
- Make sure your selfie is not blurry and that there are no shadows on your face. Take your picture in a brightly lit area, but not in the direct sun. Do not wear a hat. Make sure your face aligns with the photo capture line(s).
- Do not close out of the application before submitting your photos. You'll review and confirm your pictures before submitting them.
- Here are some tips for verifying your ID through a Notary Public:
- You can find a Notary Public at most banks, accounting offices, libraries, etc. When considering your options, we recommend calling ahead to make sure a notary is available and to confirm if an appointment and/or fee is required.
You don’t have to upload these documents right away, but your claim will not be reviewed until all documents are submitted. If you’re filing a medical leave claim and your doctor is registered in My FAMLI+, they will not be notified that they need to verify your claim until your ID is verified. If you’d like to continue filing your claim without completing the ID verification process, select Next.
- This is the second step in the claim-filing process. In this section, you must provide your employment details.
- You will be asked if you are taking a leave from self-employment or from a local government employer that has voted to opt out of FAMLI. If those do not apply, select No. If you select Yes, you will be asked if you have registered in the My FAMLI+ Employer system.
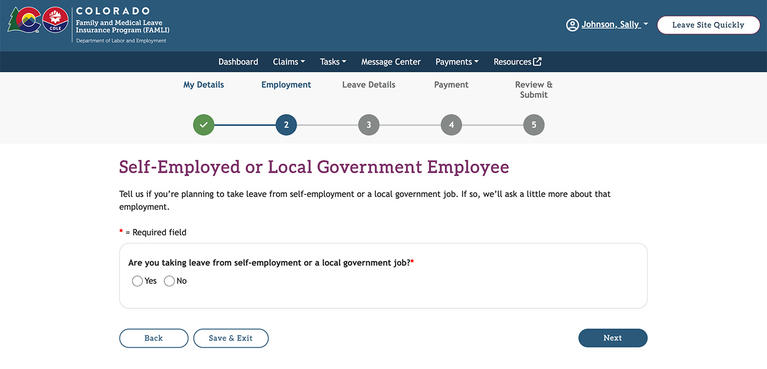
- Select the correct option and then select the Next button.
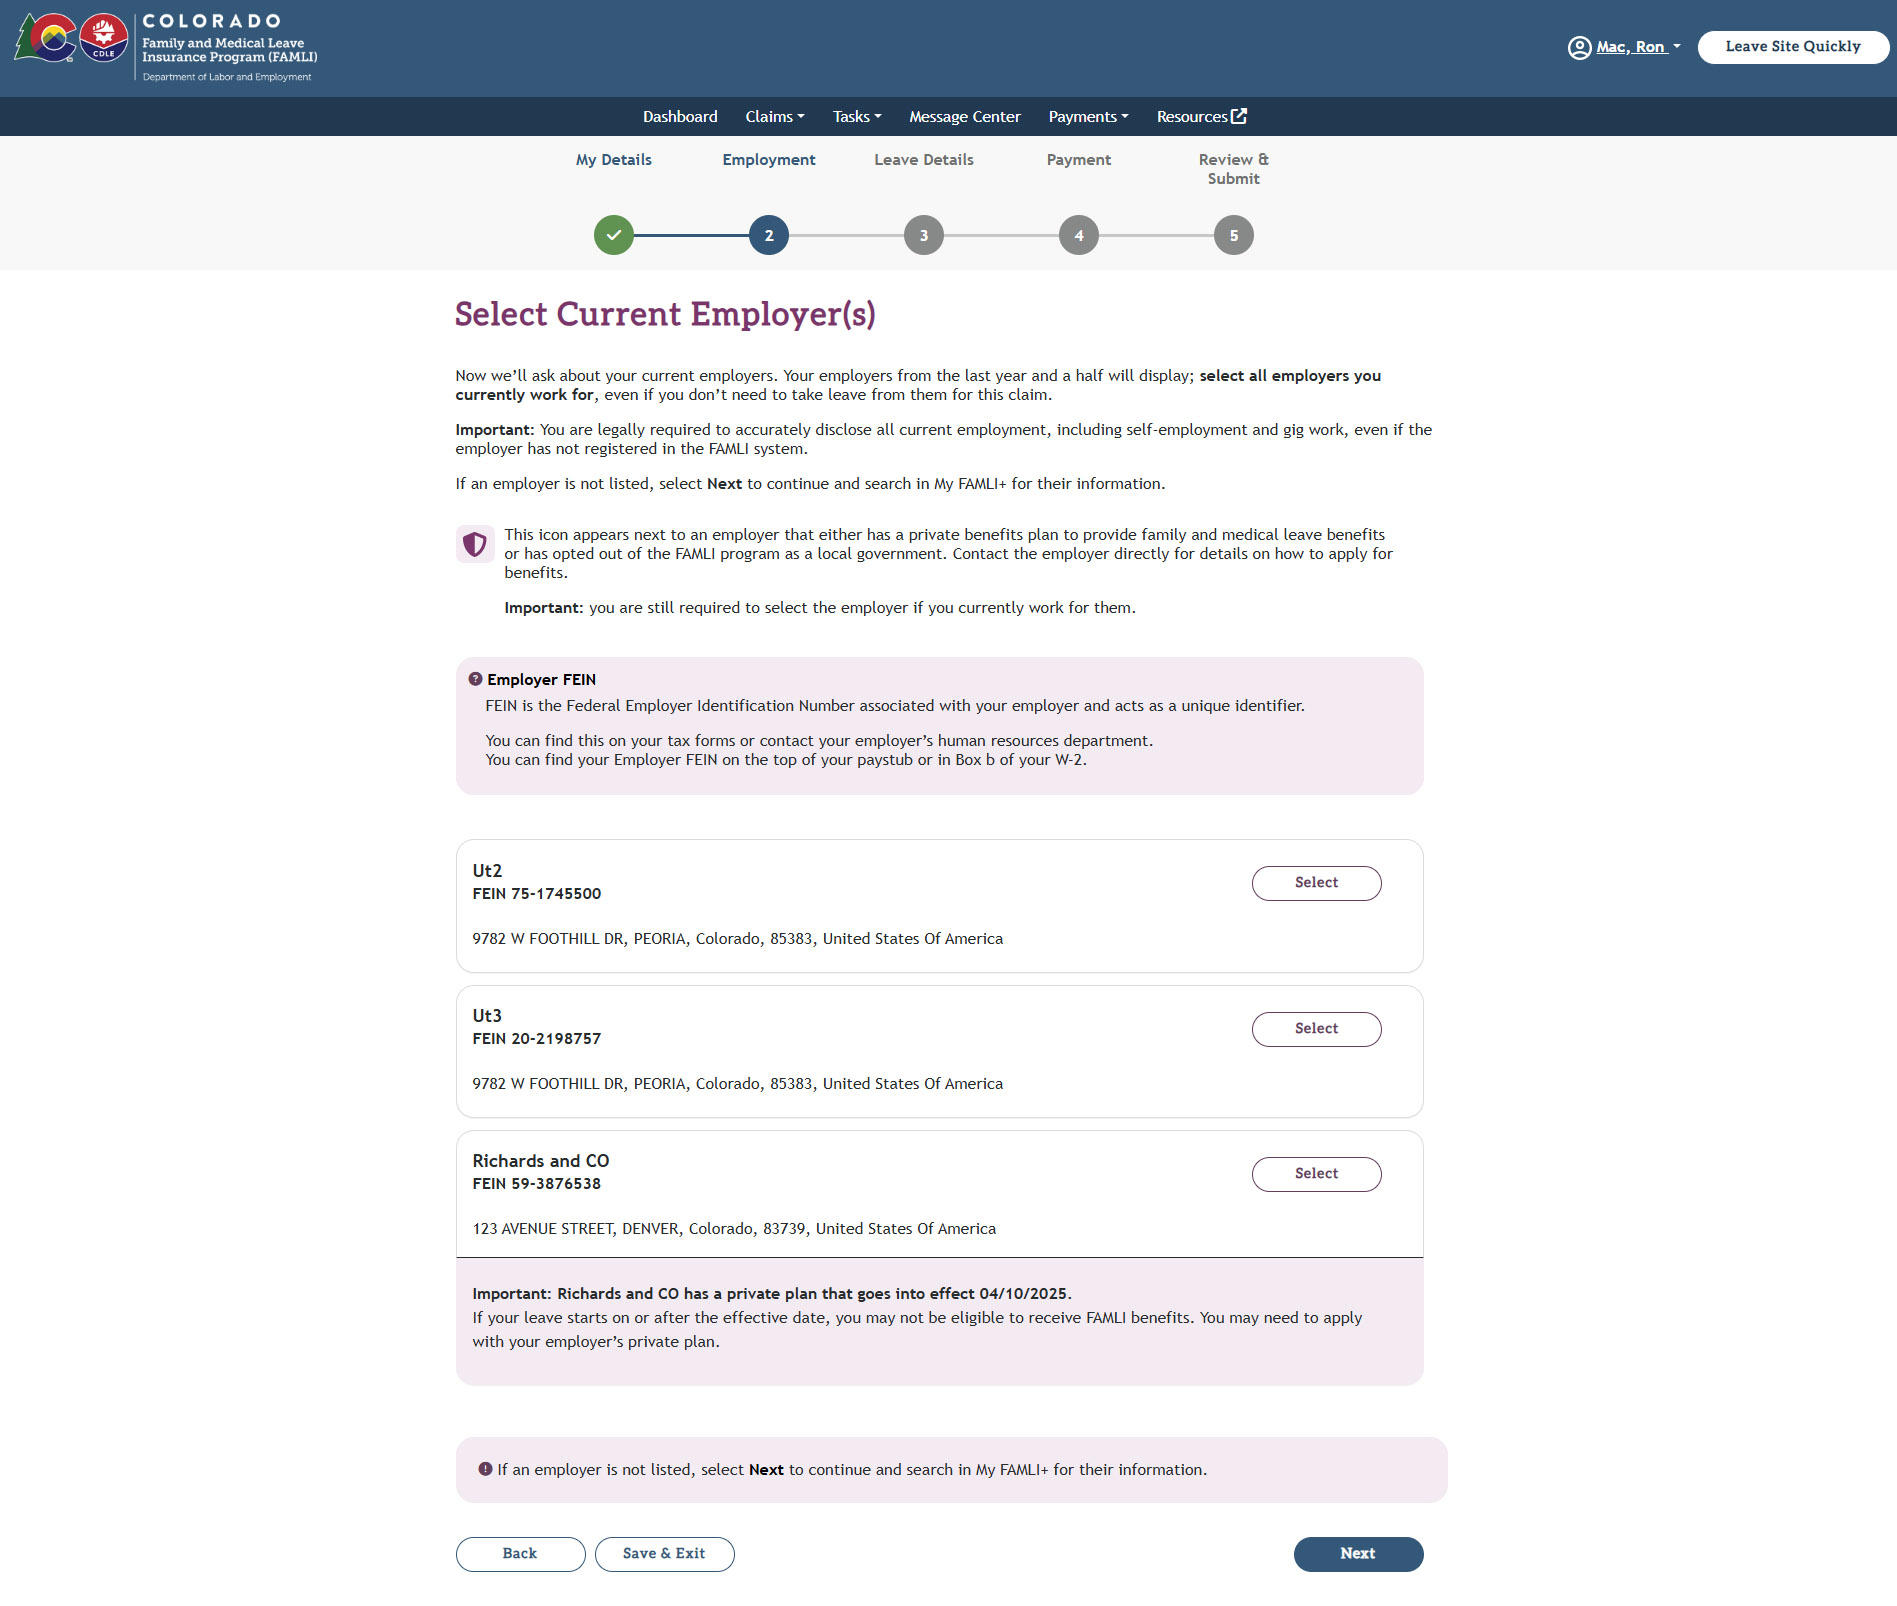
- On the Select Current Employer(s) page, you may see your employers from the last year and half. Select all the employers you currently work for and then select the Next button.
- Next, a pop-up message will display asking if you need to add another employer to your claim.
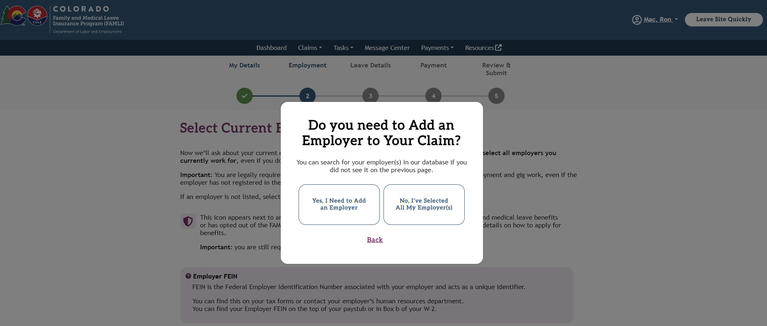
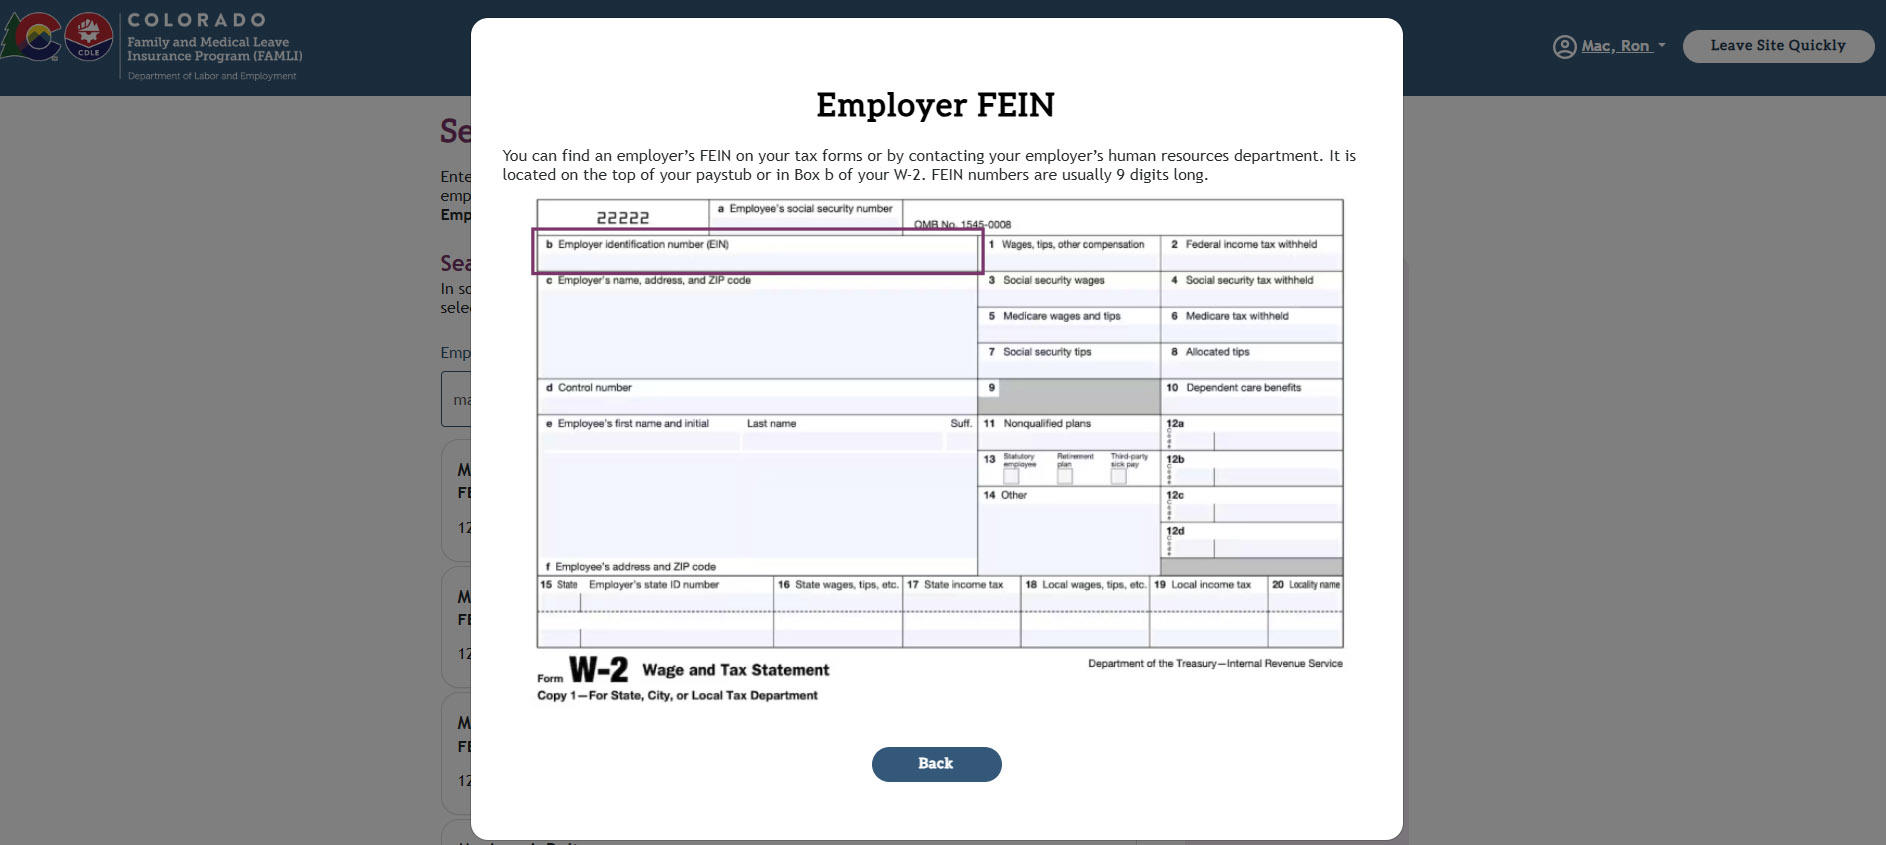
- If you did not select any employer(s) on the Select Current Employer page or need to add another employer, then you are directed to the Search For Current Employer(s) in My FAMLI+ page. Here, you can search for your employer(s) using the Employer name or Employer FEIN search criteria.

Note: If you select “i” next to the Employer FEIN search field, the message on where to locate FEIN will display.
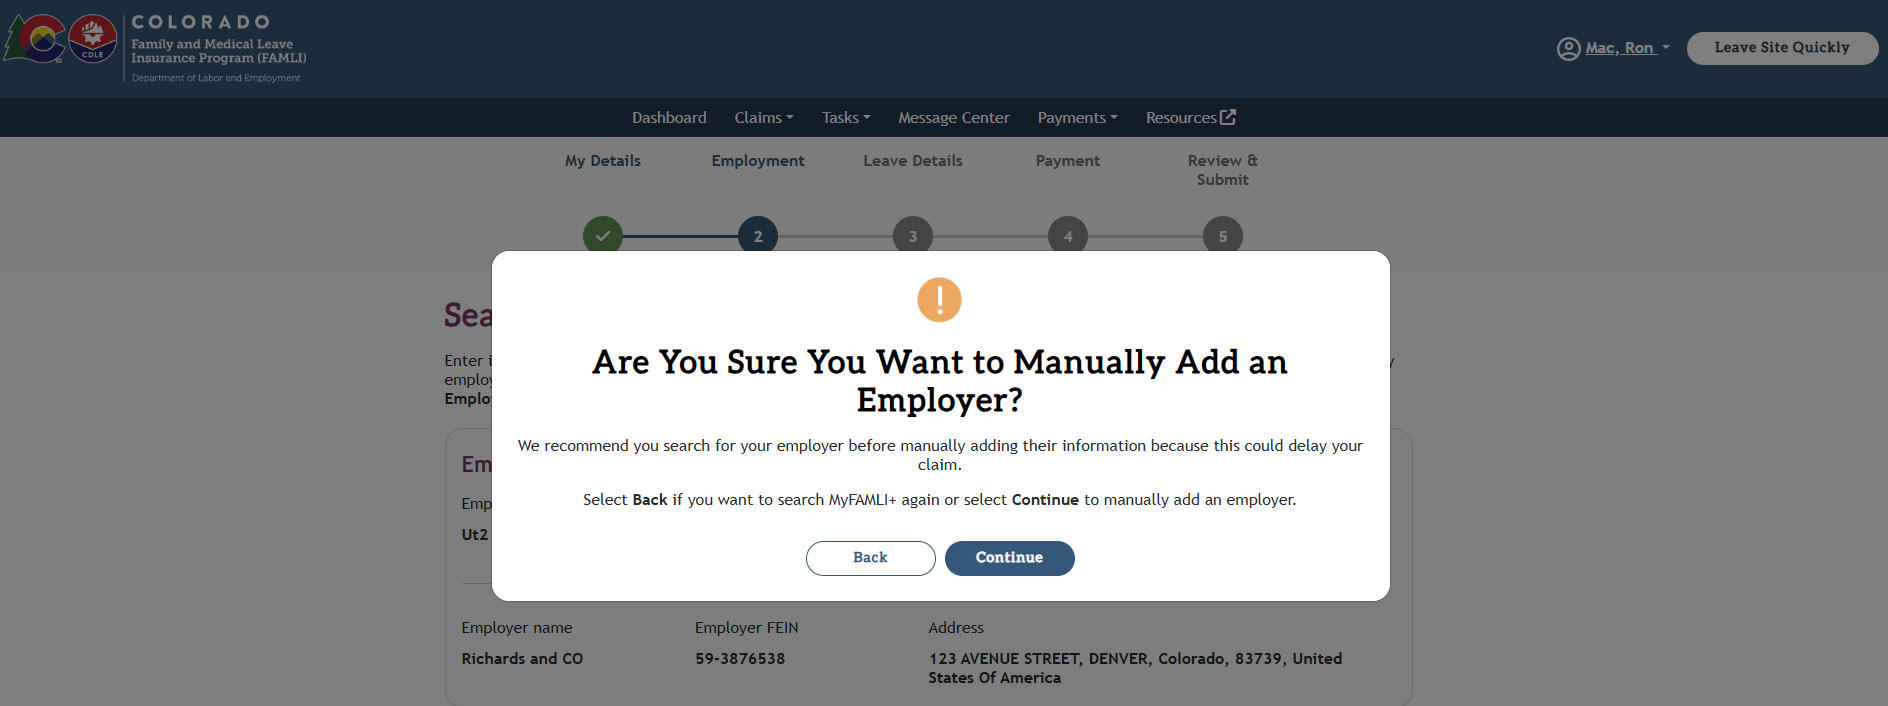
- If you did not find your employer(s) via search, select the +Add Employer Information button at the bottom of the page. The pop-up message will display to confirm you want to manually add an employer. The message also warns that adding employers manually could delay your claim. Select the Continue button.
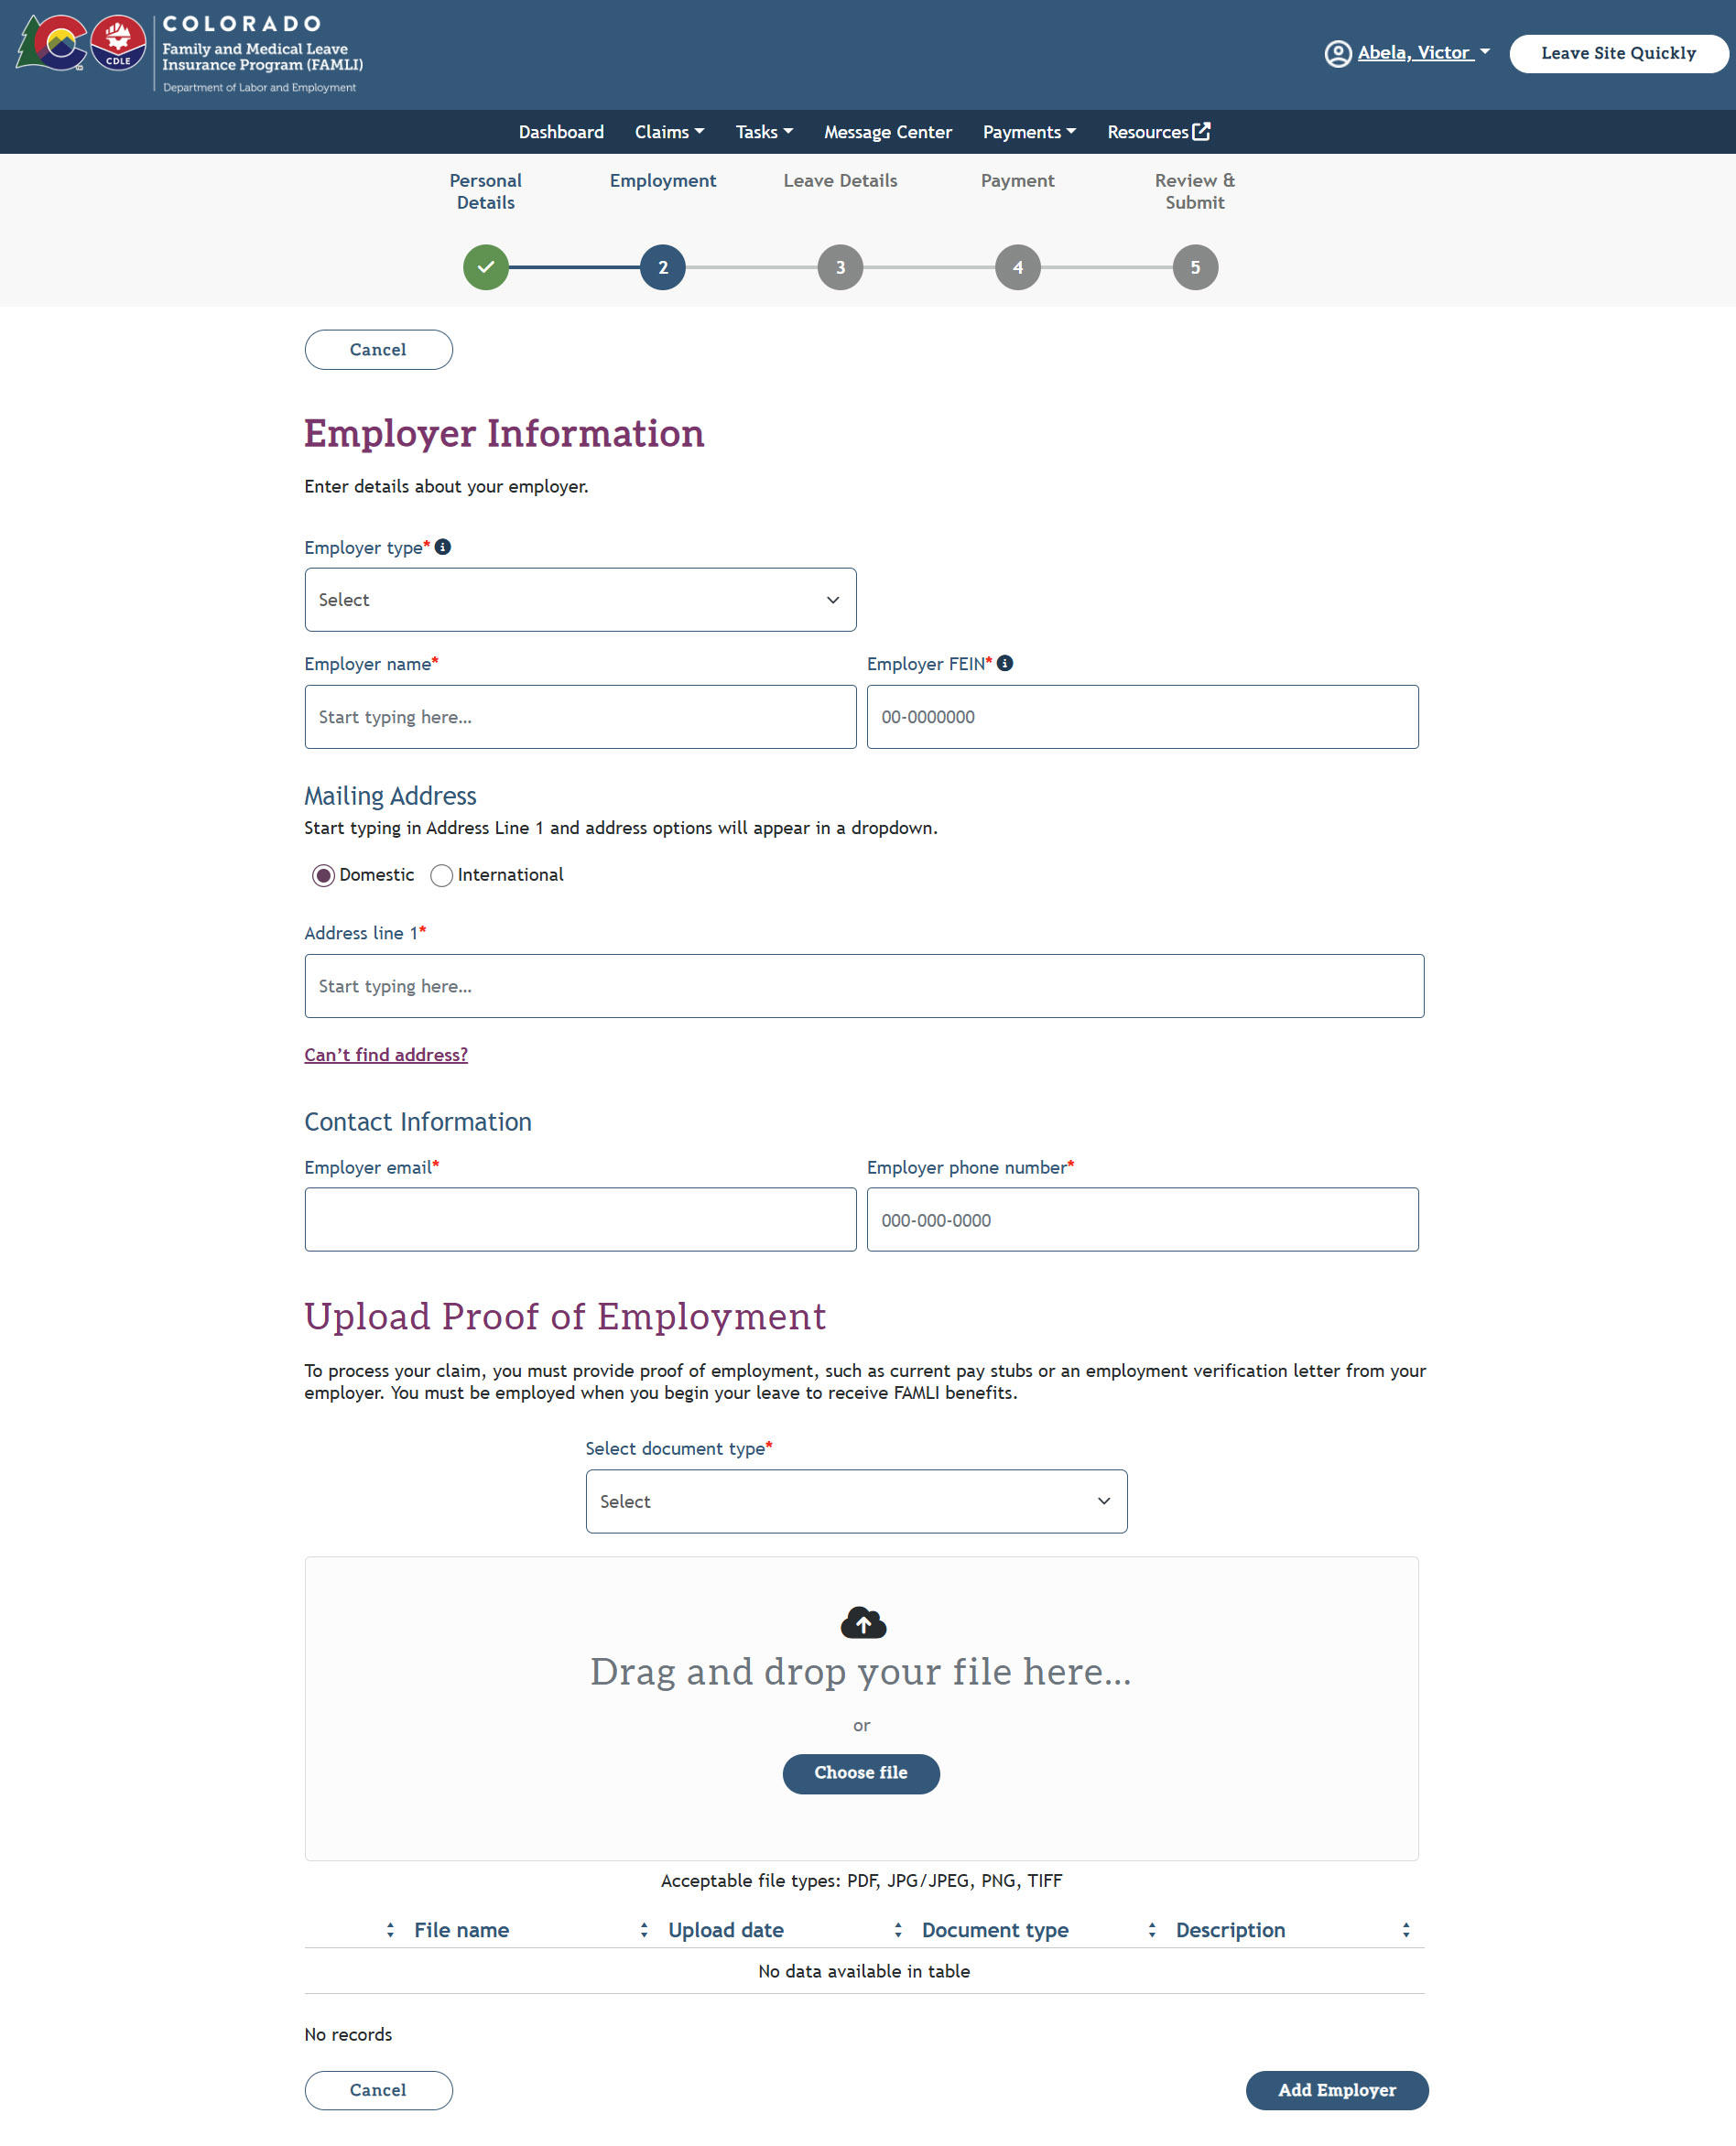
- Next, add your employer details on the Employer Information page. You must upload proof of employment and select the Add Employer button at the bottom of the screen. Make sure to choose a document type before uploading a file.
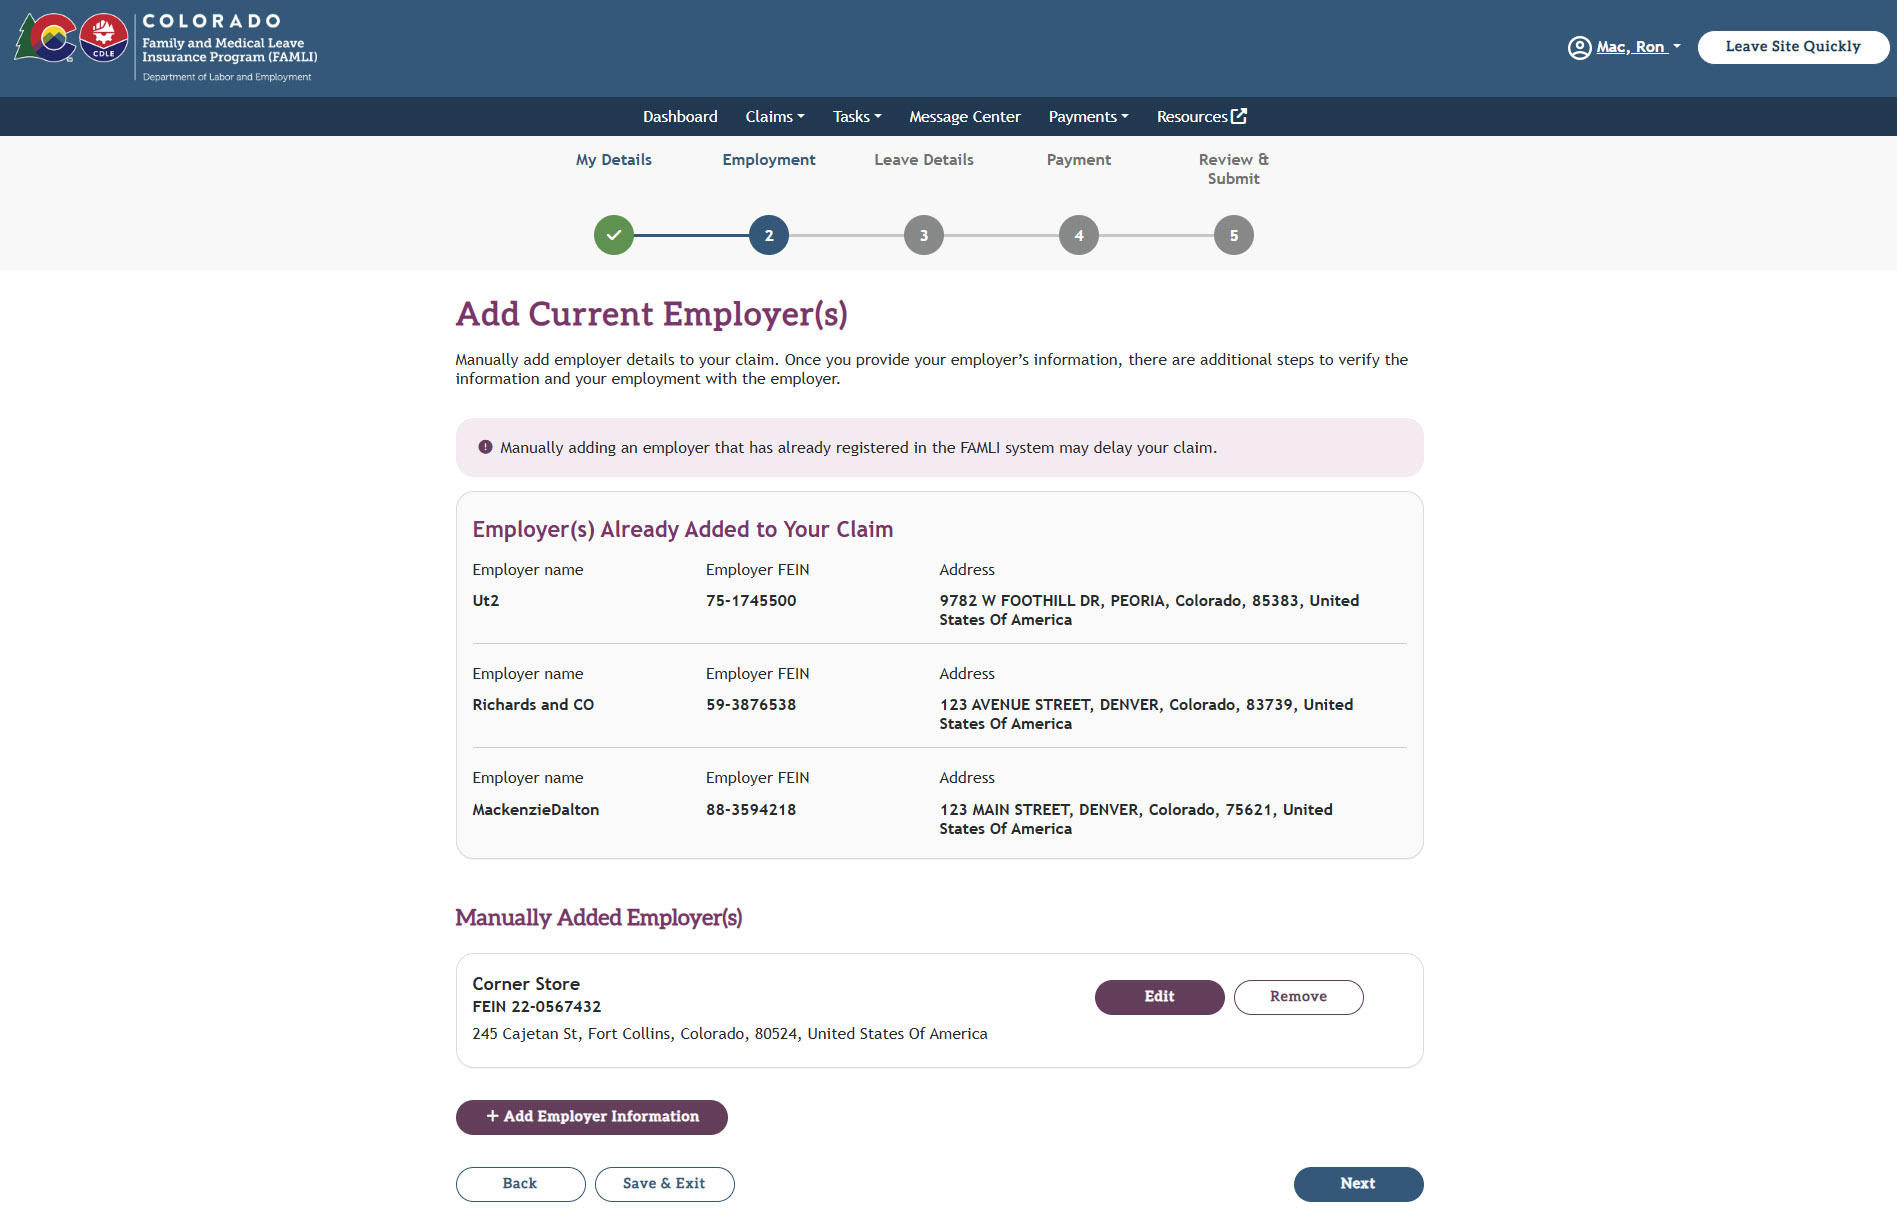
- The Add Current Employer(s) page will display next including a newly added employer. The manually added employer card includes the Edit and Remove buttons if any corrections are needed. Once all employers are added, select the Next button to continue.
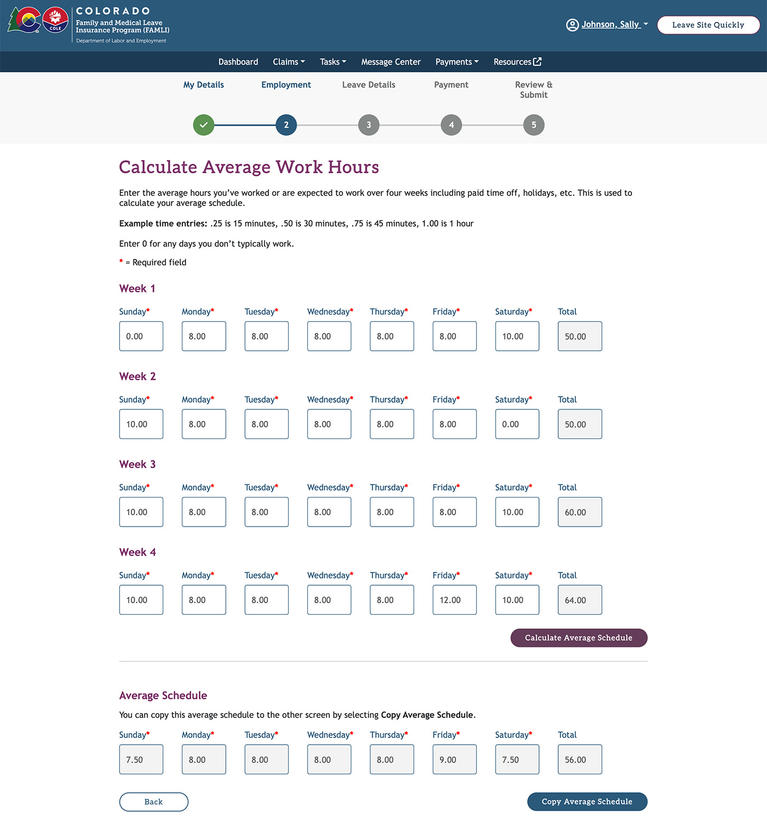
- On the My Work Schedule page, you must share your average work schedule. Enter your working hours for each day of the week. If you have more than one employer you will need to repeat this step for each employer.

- You can also calculate your average work schedule. To do so, select the Calculate Average Schedule button.
- Fill in the hours you worked each day over the last four weeks. Then select the Calculate Average Schedule button. You will see the details in the Average Schedule section.
- Select Copy Average Schedule to use these details on the My Work Schedule page.
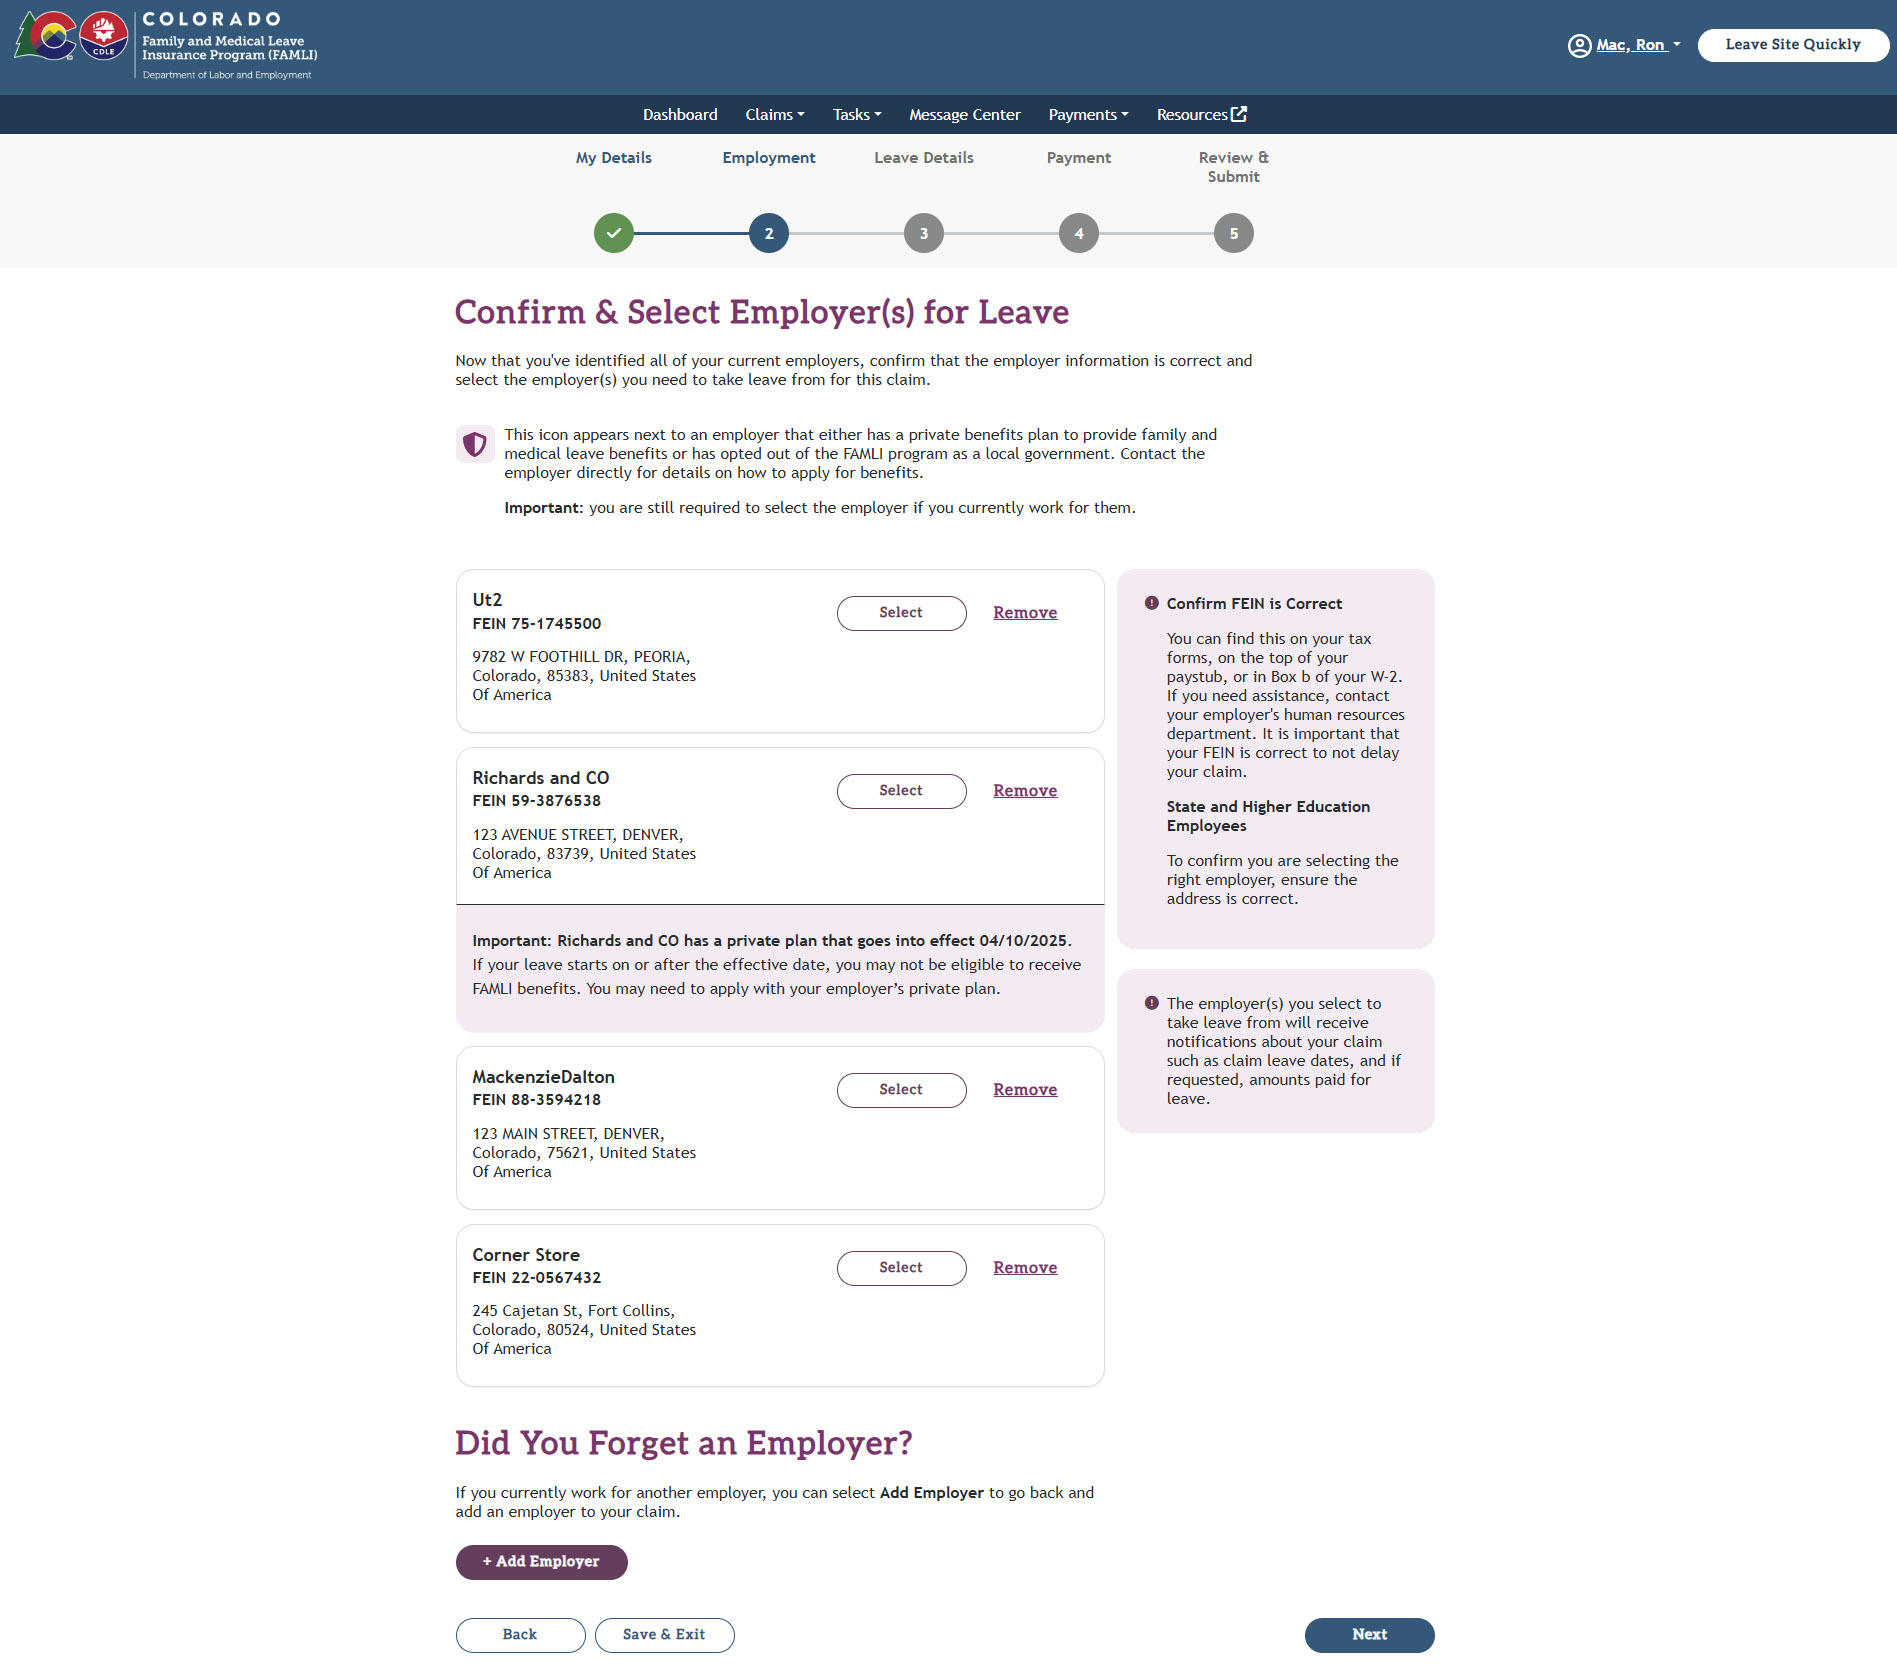
- Next, you must select employers you are taking leave from on the Confirm & Select Employer(s) For Leave page. If you don’t see all your current employers and need to add another employer, you can use the +Add Employer button at the bottom of the page.
- This is the third step of the claim-filing process. Here, you must provide your leave details.
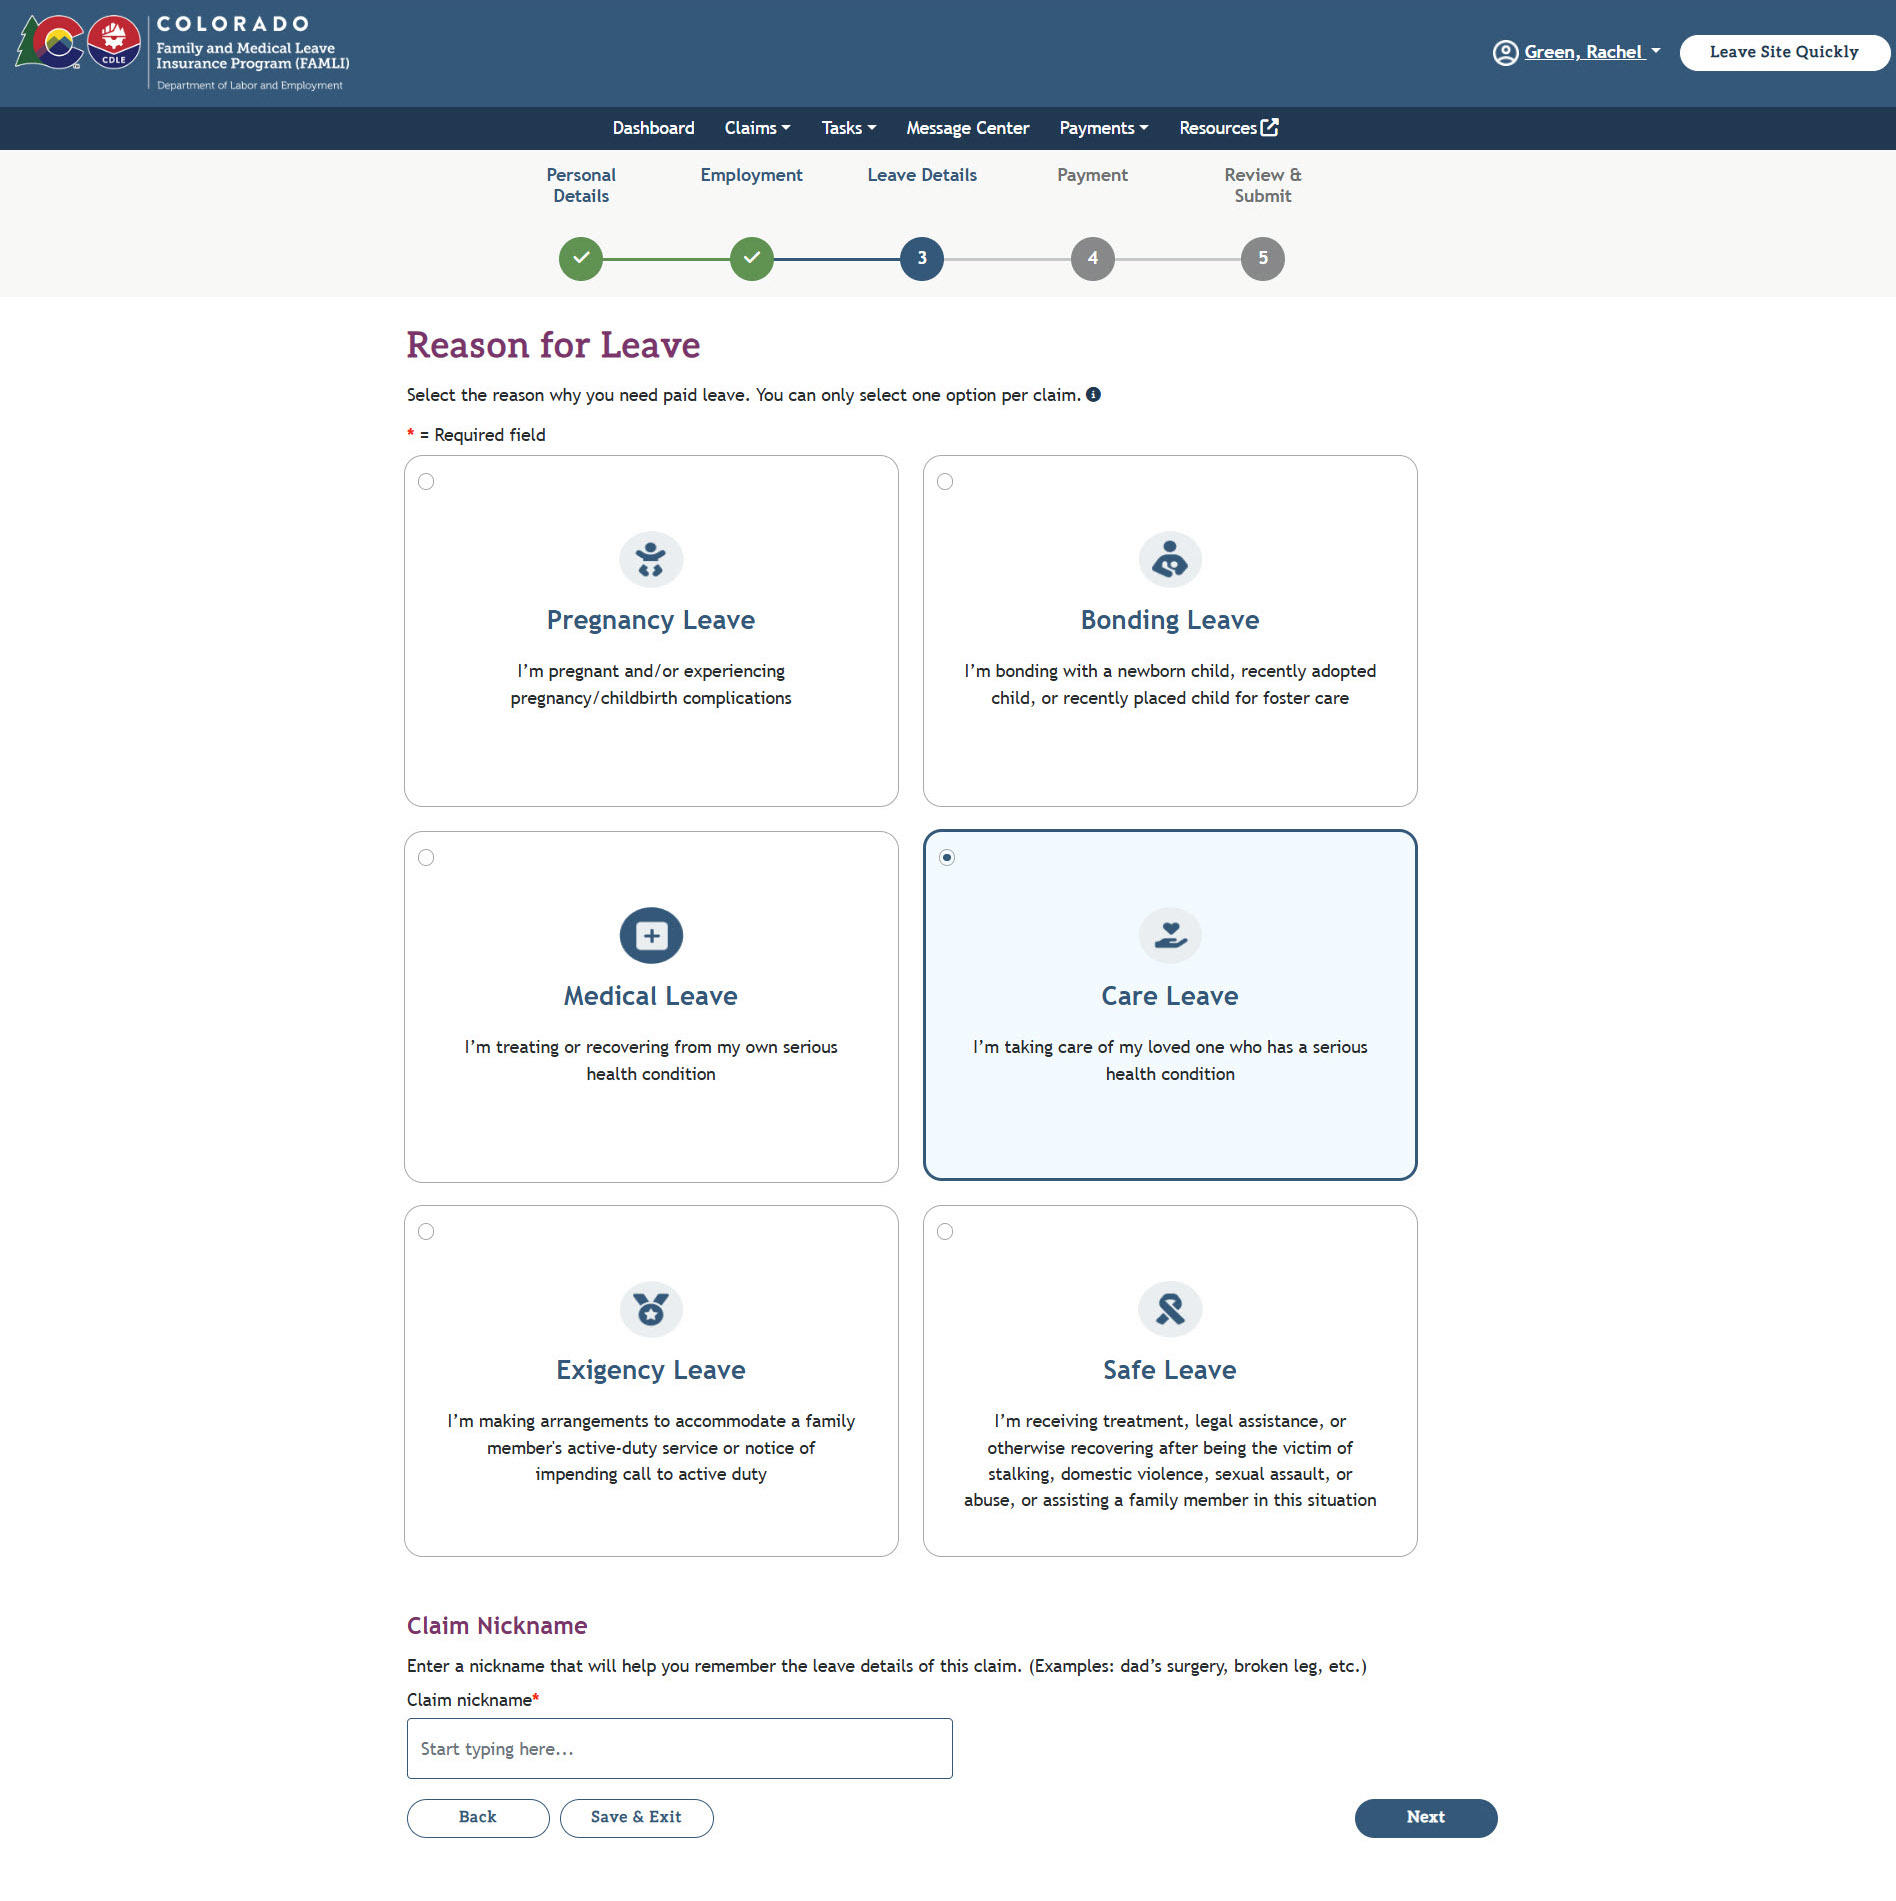
- On the Reason for Leave page, select the reason why you are requesting leave. In this example, we will walk through the process of requesting leave to care for a family member with a serious health condition. You may have to answer questions or provide different documentation depending on which leave type you choose. We’ll go through the different reasons for leave in the next chapter.
- Specify a Claim nickname in the provided field. This will help you identify and manage your claim.
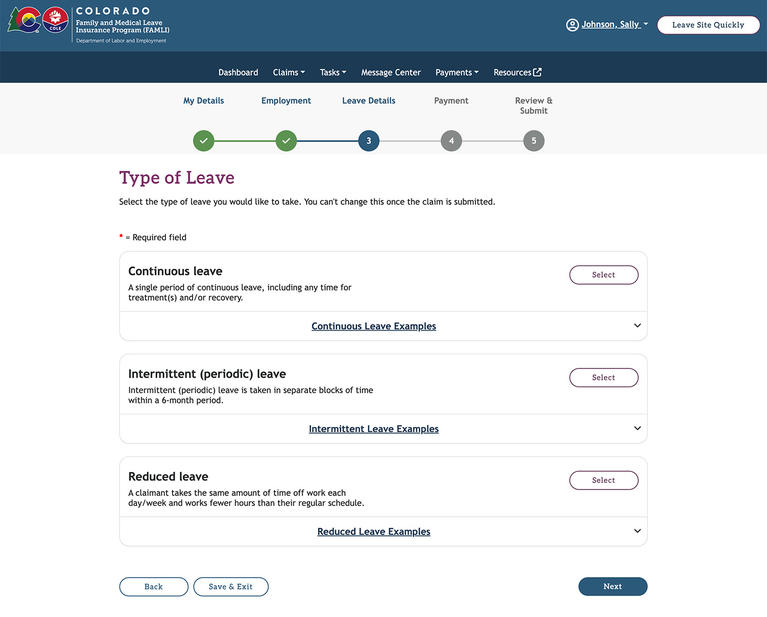
- Select the Type of Leave you want to take. FAMLI offers three types of leave, which are as follows:
- Continuous leave
- Intermittent leave
- Reduced leave
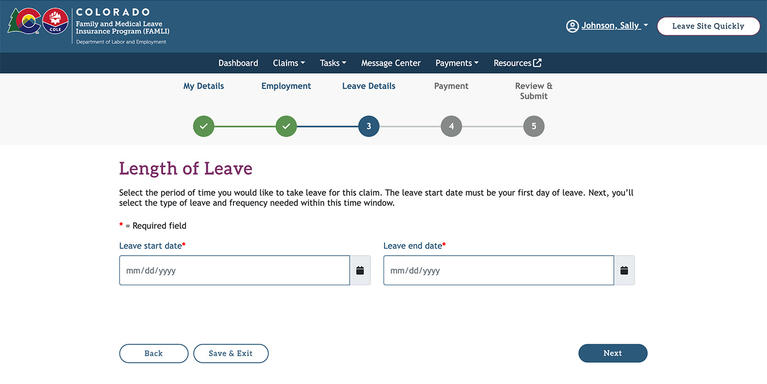
- On the Length of Leave page, fill in the start date and the end date of your leave. NOTE: If your claim is for a date in the future (not starting right away), you will be required to report your leave start date on the first day of your leave. Once your claim is approved, a task will appear on your dashboard called “Report leave start” for you to complete on the first day of your leave.
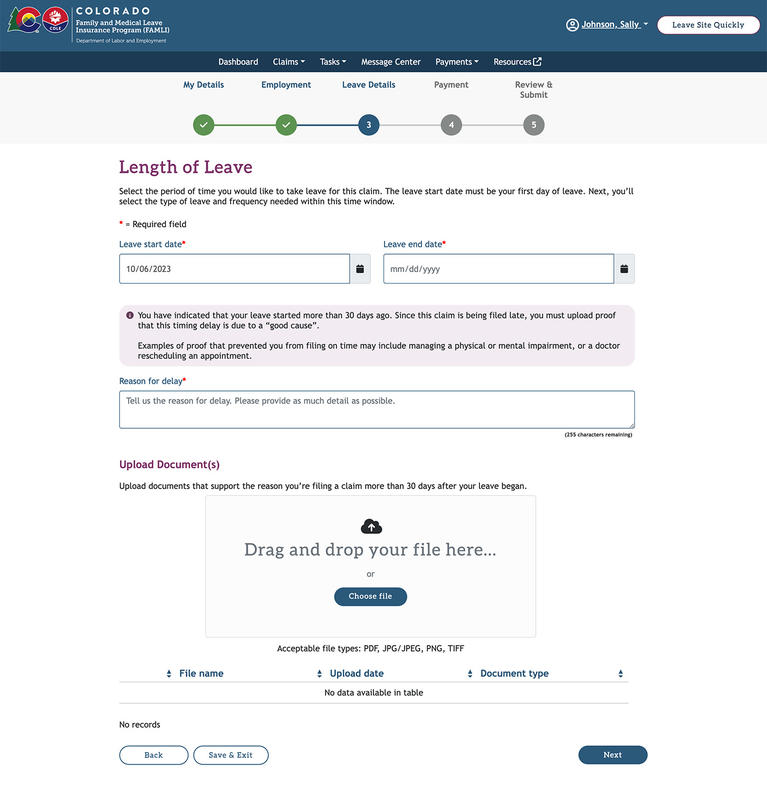
- If you are filing the claim more than 30 days after your leave start date, you must provide a valid reason for the delay. You can upload relevant documents to support the need for the delay.
- Based on your selection, you may need to provide more details regarding your need to take leave. This will depend on your reason for taking the leave. The next section will show you how to provide these additional details if they are needed.

- Provide the following details about the person you will be caring for:
- Recipient’s first name
- Recipient’s last name
- Recipient’s date of birth
- Your relationship to recipient
- Next, you must add the details of the health care provider who is treating the person you are caring for. The health care provider you select here will be responsible for filling out the Serious Health Condition Form.
- You can search for the health care provider by entering any of their details in the search fields and selecting the Search button.
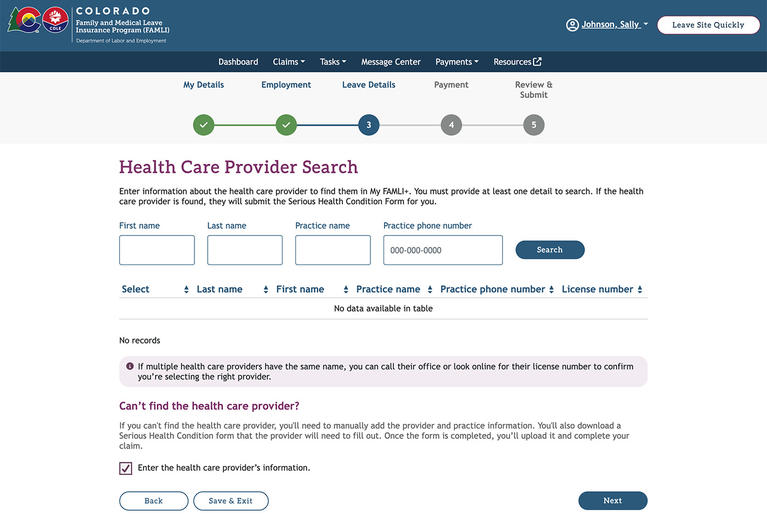
- Select your health care provider from the list. Then select the Next button. If your health care provider is listed in the system, they will be notified that you have filed a FAMLI claim. Your provider will confirm that your request for leave aligns with your care and treatment plan–all online. Remember, if your health care provider is not listed, you can enter their information yourself.
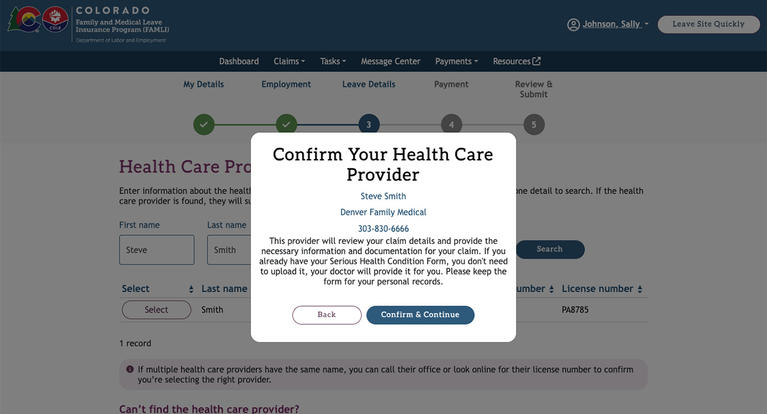
- You will be asked to confirm your health care provider. Select the Confirm & Continue button.
- If you manually entered your health care provider, you must upload your Serious Health Condition Form. If you have the completed form, you can upload it immediately. If you do not have the completed form, share it with your health care provider to fill out. Once the form is completed, you must upload it to your claim. Remember, if your health care provider is listed in the system, they will complete your Serious Health Condition Form digitally, and you won’t have to fill it out.
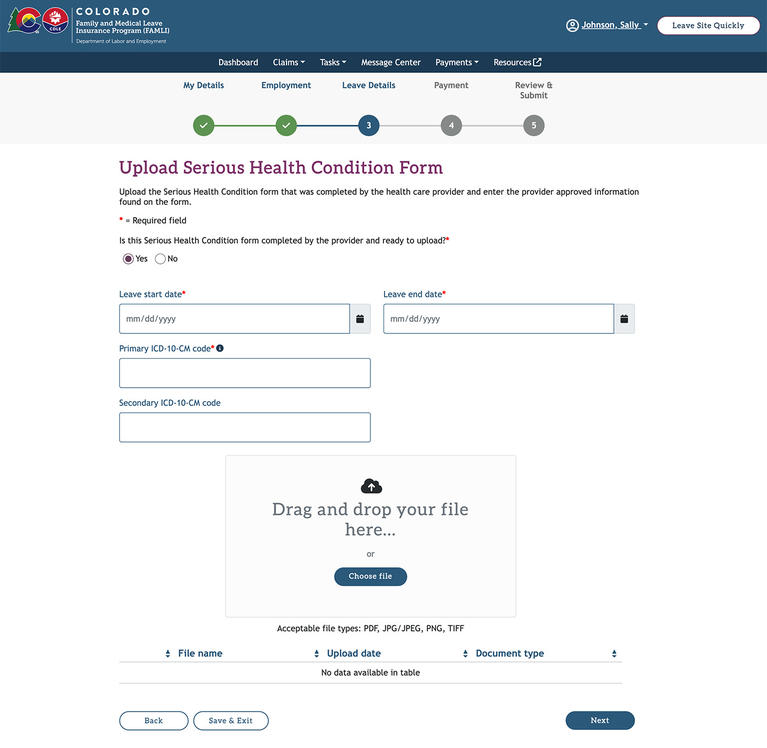
- Enter the leave start and end dates and the ICD codes that match what your health care provider added to the Serious Health Condition Form. Select Next.
If you are unable to find your health care provider, you can enter their details manually by selecting the Enter the health care provider’s information checkbox.
- This is the fourth step of the claim-filing process. Here, you must tell us how you want to receive your benefit payments.
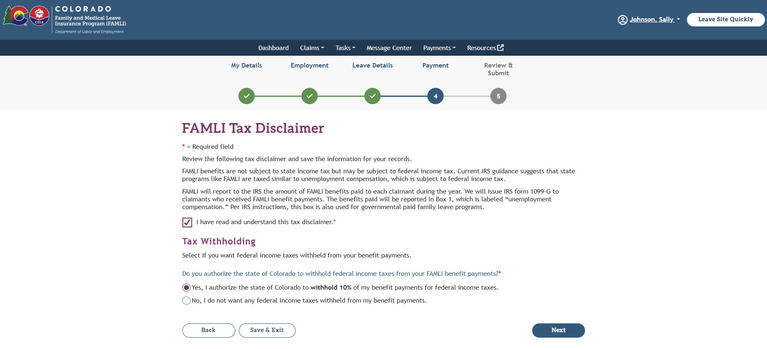
- On the FAMLI Tax Disclaimer page, read through the disclaimer.
- Select the checkbox to acknowledge that you have read and understood the disclaimer. Select Yes or No radio button based on your choice. If you want 10% federal income taxes withheld from your FAMLI benefits, select Yes. Press the Next button to continue.
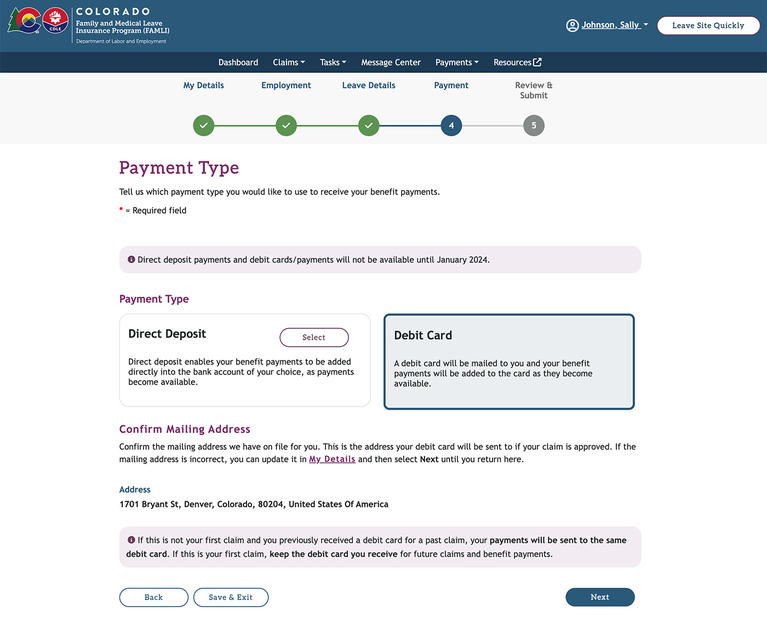
- Select the Payment Type you want to use to receive the benefit payments.
- If you select the Direct Deposit option, you must provide your bank account details
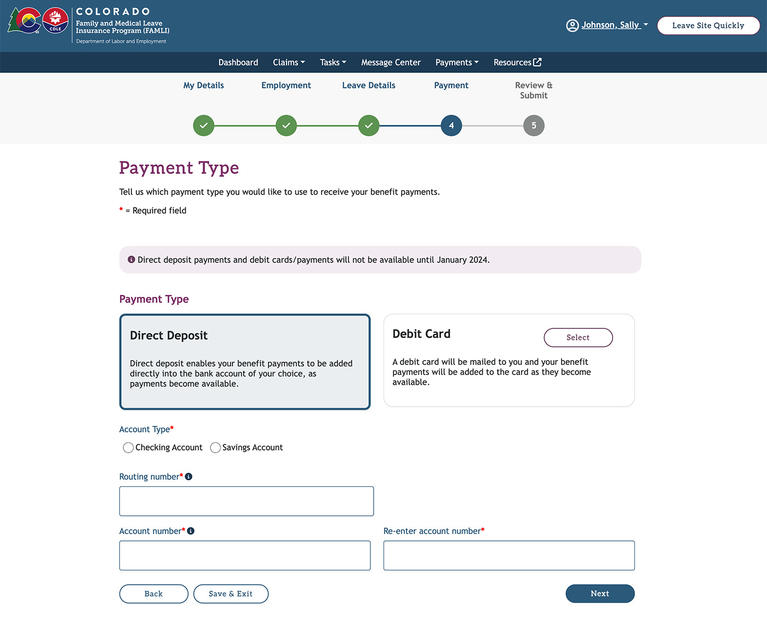
- If you select the Debit Card option, a debit card will be mailed to you. Your benefit payments will be added to the card on a weekly basis.
- Select the Next button.
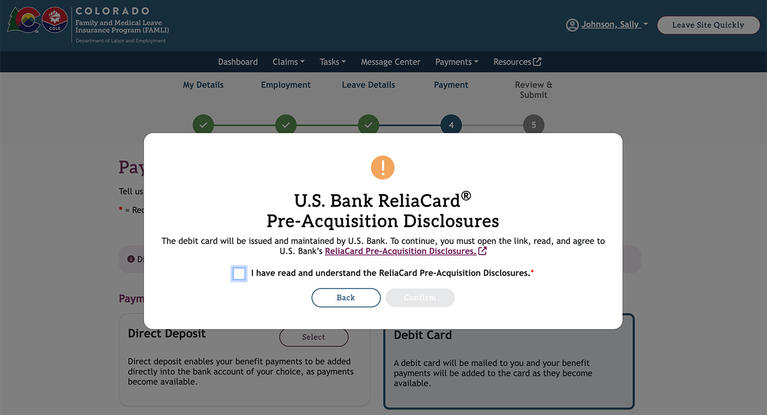
- To accept the ReliaCard Pre-Acquisition Disclosures, you must open the link, read, and agree to U.S. Bank’s Reliacard Pre-Acquisition Disclosures, then check the box.
- Select the Confirm button to save your details.
- This is the final step of the claim-filing process. Here, you must review the details and submit the claim.
- On the Review & Submit page, carefully read through the details you entered. If you find a mistake, you can correct it by selecting the Edit button.
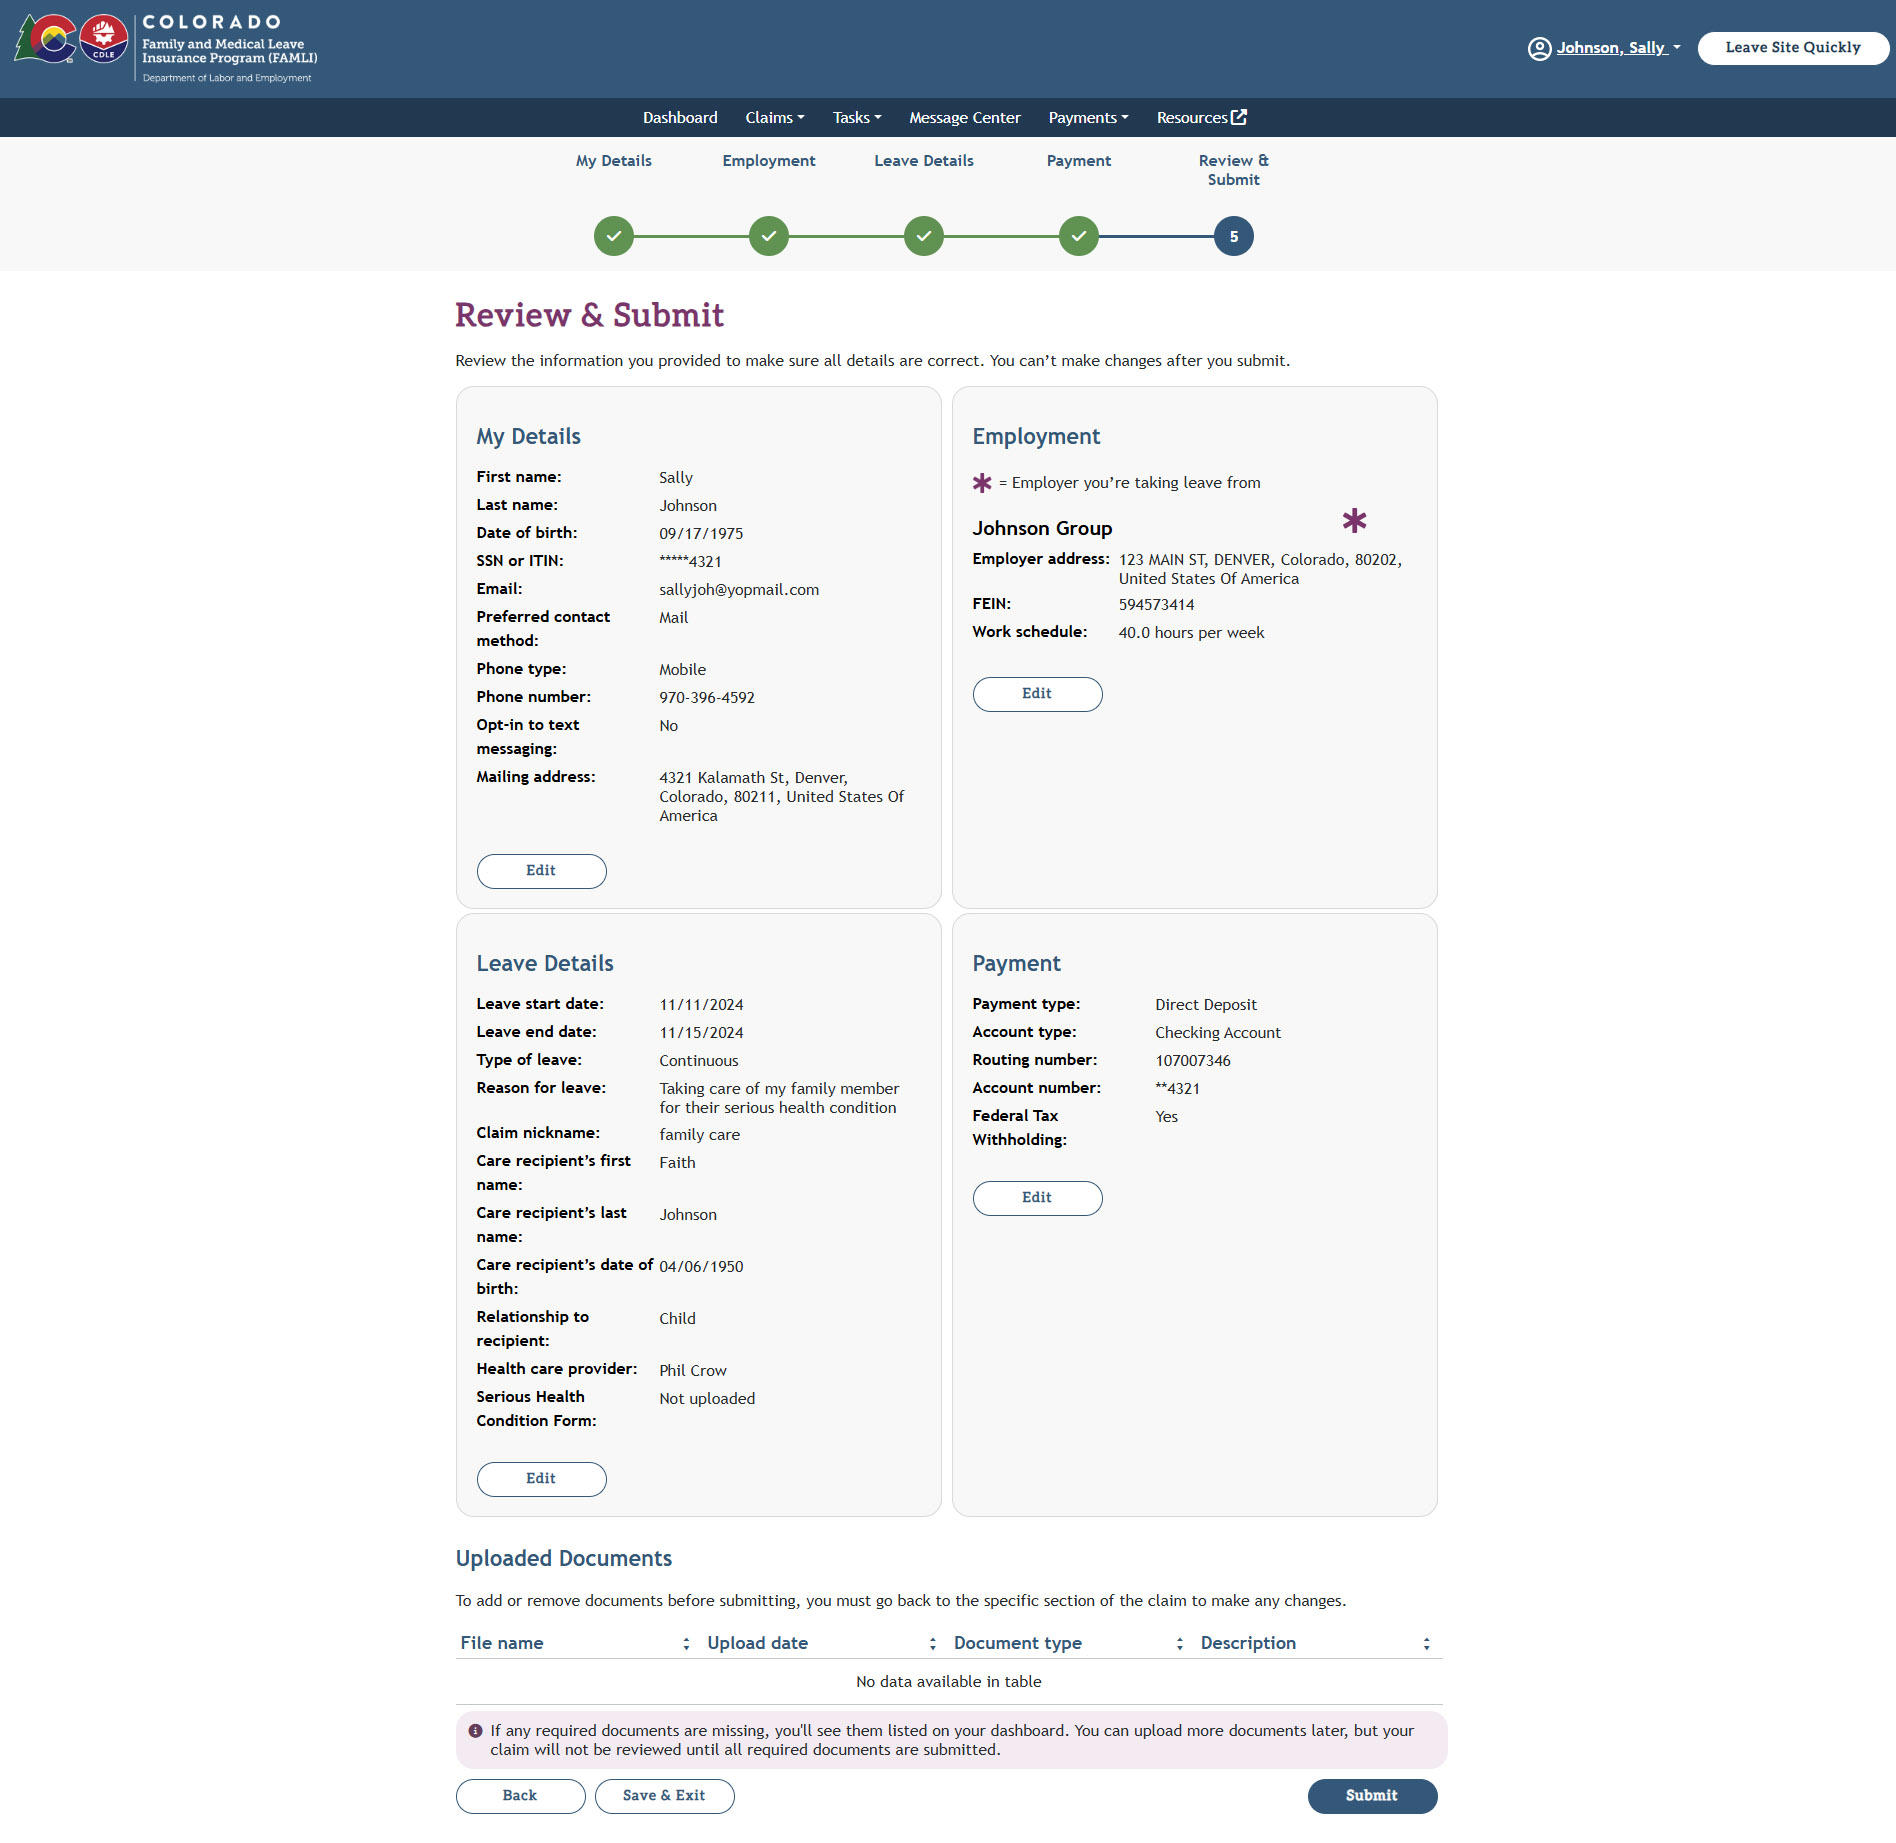
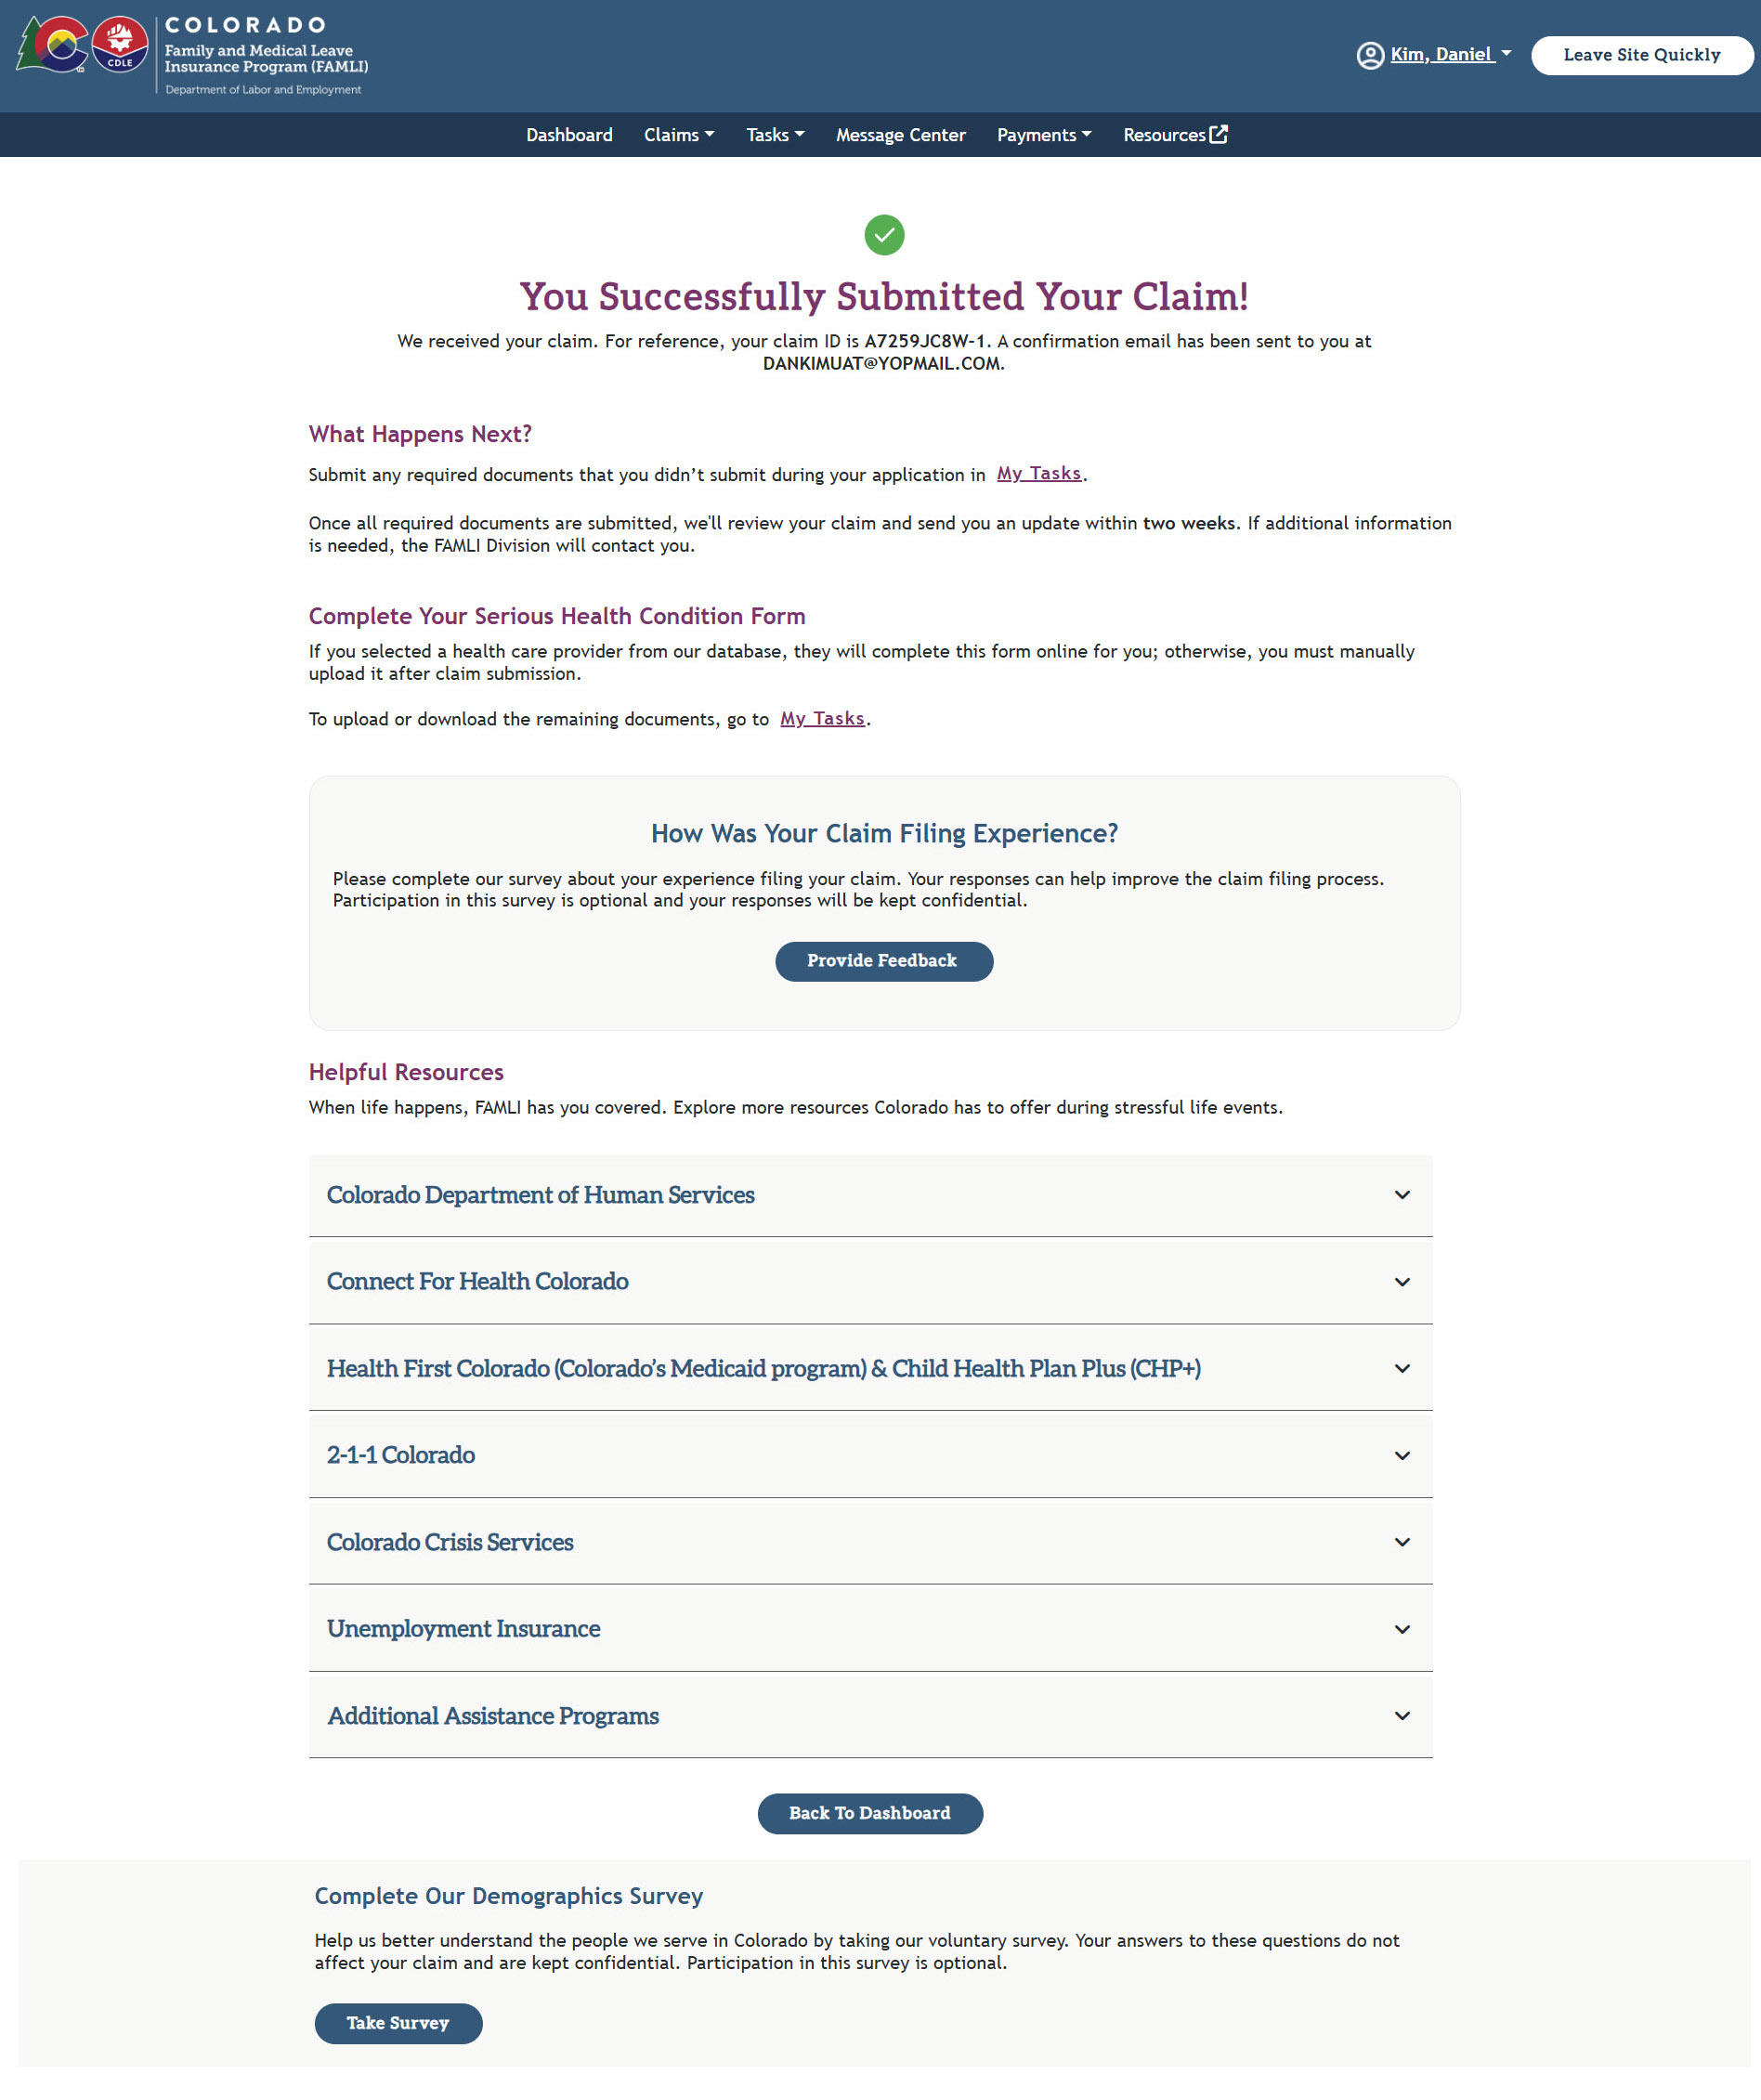
- To finish your claim, select the Submit button.
- This shows that your claim was submitted successfully.